
 EN
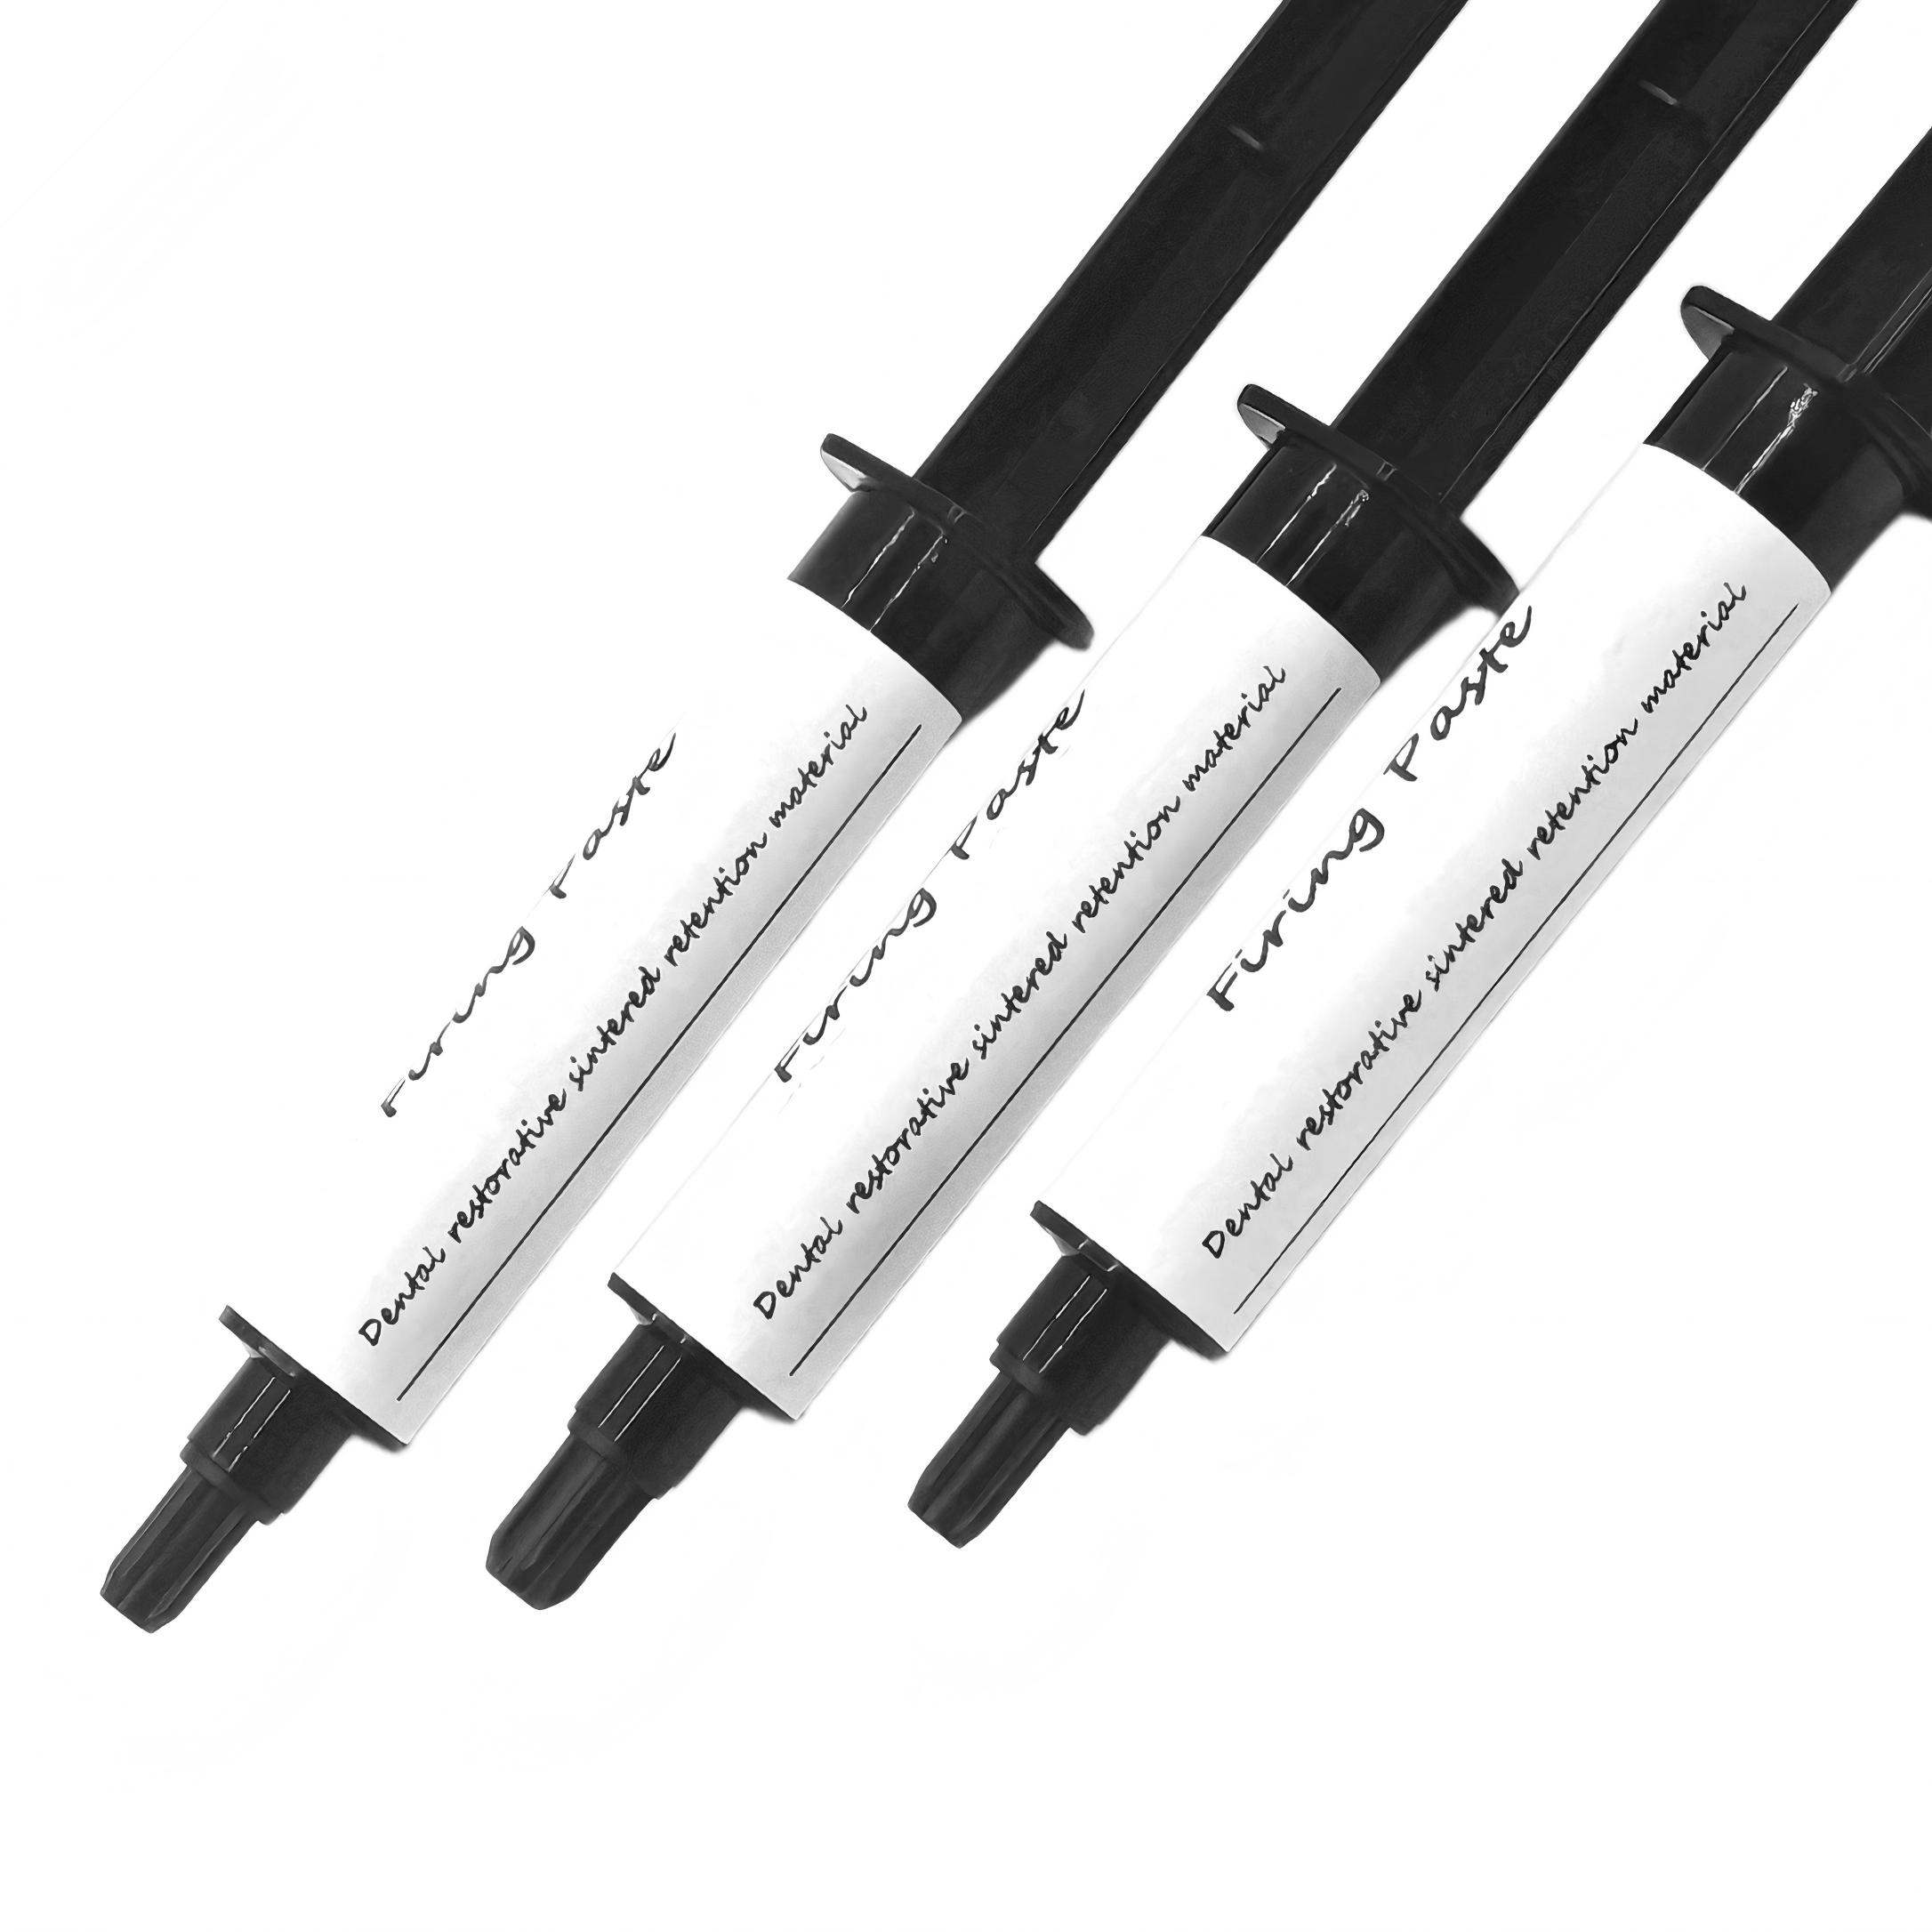
Achieving uniform color in dental restorations remains one of the most challenging aspects of cosmetic dentistry. Whether you're working with crowns, veneers, or other ceramic restorations, color inconsistencies can compromise the aesthetic outcome and patient satisfaction. Glaze Paste offers a reliable solution for correcting uneven color by providing a protective, color-enhancing layer that harmonizes the overall appearance of the restoration. Understanding how to properly apply Glaze Paste can significantly improve your clinical results and help you deliver the natural-looking smiles your patients expect.
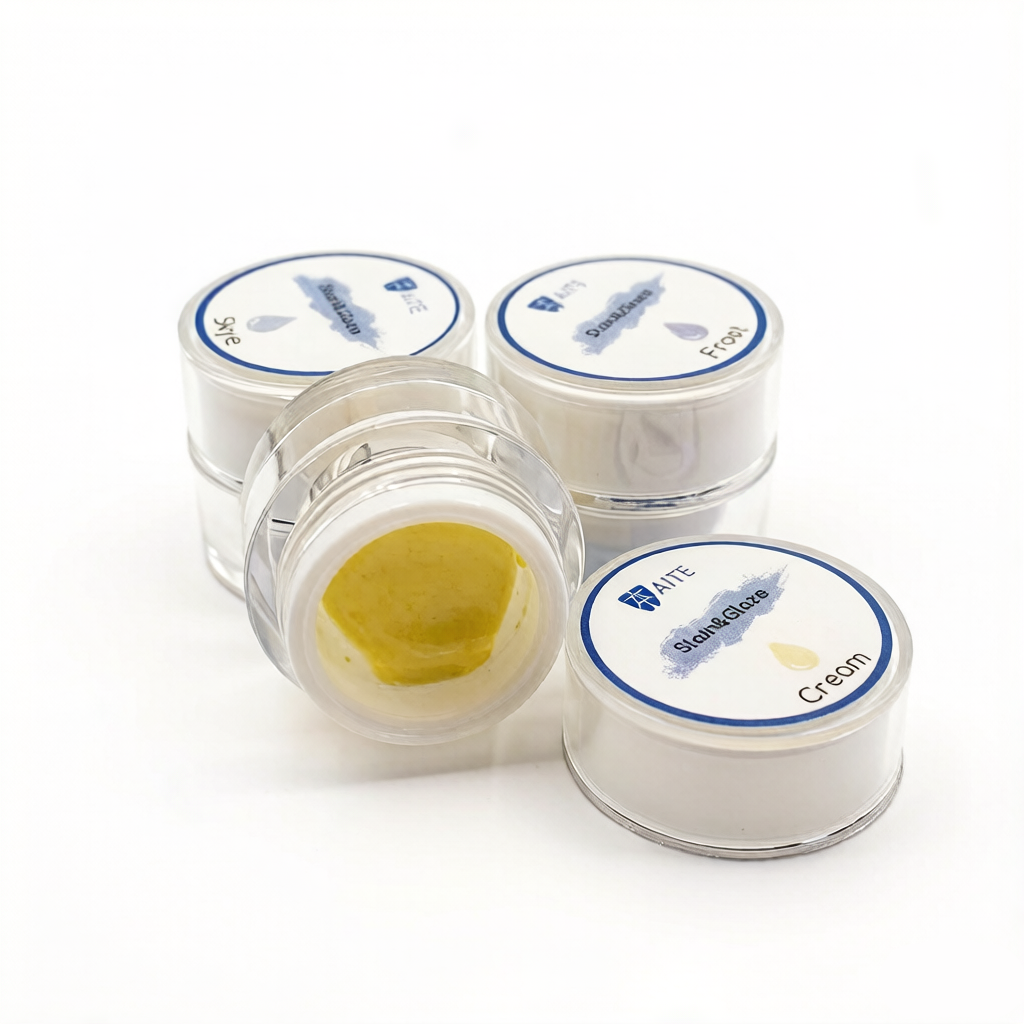
Color variation in dental ceramics can arise from multiple sources, including firing inconsistencies, material batch variations, or inadequate initial characterization. Many dental professionals struggle with these challenges because they lack a systematic approach to color correction. Glaze Paste technology provides a proven method to address these issues effectively. By mastering the application and timing of Glaze Paste, you can transform problematic restorations into aesthetically pleasing results without costly remakes.
Understanding the Role of Glaze Paste in Color Correction
How Glaze Paste Works to Unify Color
Glaze Paste functions as both a surface modifier and color corrector in dental restoration work. When applied correctly, this specialized material creates a smooth, glossy surface that reflects light uniformly across the restoration. This uniform light reflection minimizes the visual perception of color variations that might otherwise appear as streaks or patches. The Glaze Paste also acts as a sealing agent, protecting the underlying ceramic and preventing staining or microleakage at the restoration margins.
The optical properties of Glaze Paste are engineered to enhance translucency and reduce surface irregularities that cause color perception problems. Unlike other correction methods that may require aggressive grinding or complete refinishing, Glaze Paste works with the existing restoration structure. This non-invasive approach preserves the carefully crafted anatomy and contours that you've already established during the restoration fabrication process. Many clinicians report that a single, well-applied layer of Glaze Paste can eliminate mild to moderate color inconsistencies without additional intervention.
Benefits of Using Glaze Paste Over Alternative Methods
Traditional color correction methods often involve grinding away portions of the restoration and reapplying stain or characterization materials. This approach is time-consuming, destructive, and risks compromising the restoration's structural integrity. Glaze Paste eliminates these drawbacks by offering a minimally invasive, rapid correction technique. The application process requires only minutes in most cases, and you can complete the correction during the same appointment without sending the restoration back to the laboratory.
From a practical standpoint, using Glaze Paste reduces laboratory costs associated with remake cases and improves your clinical efficiency. The material is relatively affordable compared to complete restoration replacement, making it an economical choice for your practice. Additionally, Glaze Paste provides consistent, predictable results when applied according to manufacturer guidelines, which means fewer surprises during final delivery appointments. This reliability builds patient confidence and strengthens your reputation for delivering high-quality aesthetic outcomes.
Step-by-Step Application Technique for Glaze Paste
Preparation and Surface Assessment
Before applying Glaze Paste, you must thoroughly examine the restoration under appropriate lighting to identify exactly where color inconsistencies exist. Use a shade guide and compare the restoration systematically across its entire surface, including the incisal third, middle third, and cervical third. This assessment determines whether the Glaze Paste needs full coverage or targeted application to specific problem areas. Document your findings, as this guides your application strategy and helps you explain the correction process to your patient.
Clean the restoration surface meticulously to remove any debris, temporary cement, or surface contaminants that might interfere with Glaze Paste adhesion. Use an appropriate cleaning protocol, such as mild pumice or a specialized ceramic cleanser, followed by thorough rinsing and drying. Ensure the surface is completely dry before opening your Glaze Paste container, as moisture contamination compromises the material's working properties and final appearance. This preparation step takes only a few minutes but is critical for achieving optimal results with your Glaze Paste application.
Application Method and Coverage Strategy
Apply Glaze Paste using a small brush or applicator, following a systematic pattern that ensures even coverage without excess material buildup. Start at the cervical area and work toward the incisal edge, maintaining consistent brush pressure to create a uniform layer. The key to successful Glaze Paste application is avoiding over-application, which can create a plastic-looking appearance or dark areas. Many experienced clinicians recommend multiple thin layers rather than one thick application, as this approach provides better color blending and more natural results.
For localized color problems, you can apply Glaze Paste strategically to affected regions while leaving other areas unchanged. This targeted approach requires careful technique and good visibility but often produces superior aesthetic results compared to full-surface coverage. Allow the Glaze Paste to dry for the time specified in the product instructions before proceeding to the firing or curing stage. Proper timing is essential for the material to develop its full color-correcting and protective properties.
Firing and Curing Considerations
Most Glaze Paste products require controlled heating to achieve their optimal hardness and color stability. Follow the manufacturer's specific firing protocol, including temperature ramp rates, maximum temperature, and cooling procedures. Under-firing can result in inadequate surface hardness and color instability, while over-firing may cause color distortion or surface irregularities. If your practice uses an intraoral glazing technique with Glaze Paste, ensure your equipment is properly calibrated and maintained for consistent results.
After firing or curing, allow the restoration to cool completely before evaluating the final color result. Assess the corrected restoration under the same lighting conditions used during initial evaluation to ensure accurate color matching. The Glaze Paste should have created a glossy, uniform surface that harmonizes color variations and enhances the overall aesthetic appearance. If you identify remaining color inconsistencies after the first application, you can apply additional layers of Glaze Paste using the same technique.
Common Challenges and Practical Solutions
Addressing Persistent Color Issues
Sometimes a single Glaze Paste application may not completely eliminate severe color problems, particularly if the underlying ceramic contains significant staining or discoloration. In these cases, you may need to combine Glaze Paste application with other correction methods, such as adding characterization stains beneath the Glaze Paste layer. This combination approach requires careful planning and execution but often succeeds when Glaze Paste alone proves insufficient. Understanding the limits of Glaze Paste helps you set realistic expectations and plan appropriate treatment strategies for challenging cases.
If color discrepancies persist after multiple Glaze Paste applications and supplementary techniques, the restoration may require partial or complete refinishing by your laboratory partner. Glaze Paste works optimally for mild to moderate color variations rather than severe discoloration. By recognizing these limitations early, you can communicate transparently with patients and avoid frustration from attempting endless corrections. This professional approach maintains patient trust even when cases require more extensive intervention.
Preventing Color Problems in Future Cases
Using Glaze Paste as a corrective tool is effective, but preventing color problems during initial restoration fabrication is more efficient. Work closely with your laboratory to establish clear communication about shade matching expectations and characterization preferences. Request that your laboratory provide detailed documentation of the stains and glazes used in each restoration, allowing you to replicate results if minor adjustments become necessary. This proactive approach reduces your reliance on Glaze Paste for major color corrections and streamlines your overall workflow.
Additionally, maintain detailed photographs of successful restorations that demonstrate your preferred aesthetic outcomes. Share these reference images with your laboratory to ensure consistent results across multiple cases. Glaze Paste remains an invaluable resource for those inevitable situations where color adjustments are needed, but building a strong relationship with your laboratory minimizes these occurrences significantly.
FAQ
Can Glaze Paste be applied to all types of dental ceramics?
Glaze Paste works best on traditional dental ceramics and porcelain restorations, as these materials accept the glaze layer and bond appropriately. Some newer ceramic materials, such as zirconia-based restorations, may have compatibility issues with standard Glaze Paste formulations. Always verify compatibility with your specific ceramic material and consult the product specifications before applying Glaze Paste to new material types. Your laboratory or material supplier can provide guidance on appropriate glazing techniques for specialized ceramics.
How long does a Glaze Paste correction last?
When properly applied and fired, Glaze Paste creates a durable surface layer that typically lasts as long as the underlying restoration. The glazed surface resists staining and maintains its appearance throughout the restoration's lifespan. However, wear, aggressive polishing, or damage from improper handling can compromise the glaze layer over time. If the glaze becomes damaged, you can reapply Glaze Paste to restore the color correction and protection, making it a cost-effective long-term solution for maintaining restoration aesthetics.
Is special equipment required to apply and fire Glaze Paste?
Most dental practices already have the basic equipment needed for Glaze Paste application and firing. A ceramic furnace or intraoral glazing unit suitable for your restoration type can cure Glaze Paste according to manufacturer specifications. You'll need fine-tipped brushes or applicators for precise application, but these are standard items in most cosmetic dental practices. Ensure your firing equipment is properly maintained and calibrated to achieve consistent results with Glaze Paste every time you use it.