
 EN
EN
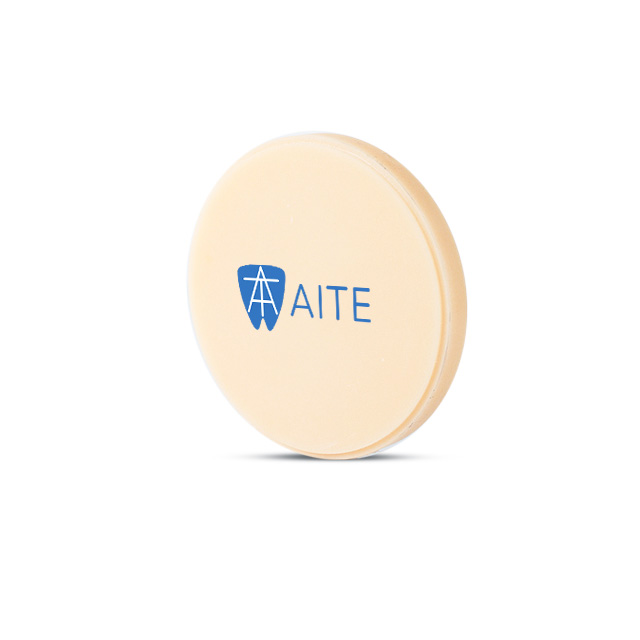
Achieving a high gloss finish on dental PMMA is essential for creating aesthetically pleasing and durable dental prosthetics. Whether you are fabricating dentures, orthodontic appliances, or other dental acrylic restorations, proper polishing of dental PMMA directly impacts both the clinical appearance and longevity of the final restoration. Understanding the correct polishing techniques and materials ensures that your dental PMMA surfaces maintain their brilliance while resisting staining and bacterial adhesion. This comprehensive guide walks you through every step of polishing dental PMMA to achieve professional-grade results that satisfy both clinical requirements and patient expectations.
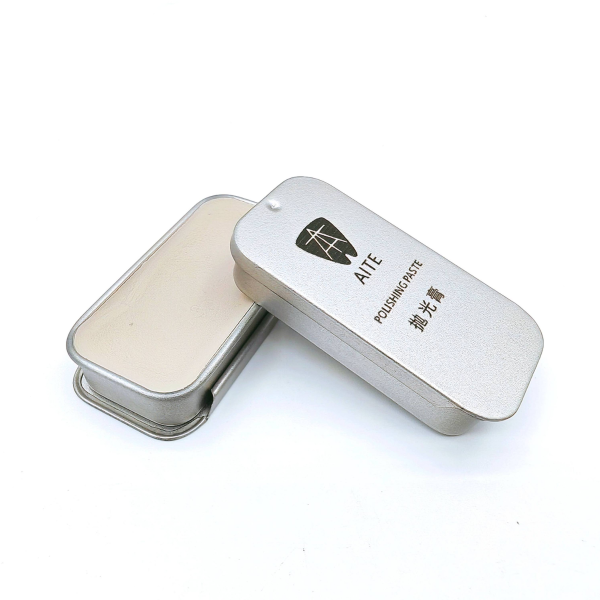
The polishing process for dental PMMA requires more than simply applying an abrasive to the surface. Successful polishing involves a systematic progression through multiple stages, each designed to remove surface irregularities and create an increasingly refined finish. When dental PMMA is properly polished, it not only looks more attractive but also becomes more resistant to wear, discoloration, and microbial colonization. The investment in learning proper polishing techniques pays dividends in patient satisfaction, restoration durability, and your laboratory's professional reputation.
Understanding Dental PMMA Surface Preparation
Why Surface Preparation Matters for Dental PMMA
Before beginning the polishing process, your dental PMMA must be properly prepared to receive polishing compounds. During the initial manufacturing stage, dental PMMA often has micro-scratches, surface contaminants, and rough areas from milling, pressing, or casting processes. These imperfections create an uneven surface that prevents light from reflecting uniformly, resulting in a dull or cloudy appearance rather than the desired gloss. Preparing your dental PMMA surface correctly ensures that subsequent polishing steps will be effective and efficient.
The preparation stage involves removing excess material, smoothing rough edges, and creating a substrate that will respond well to polishing compounds. For dental PMMA that has been milled, you may need to remove residual milling marks. For pressed or cast dental PMMA, flash and sprues must be eliminated carefully without damaging the restoration itself. Once your dental PMMA is properly shaped and any significant irregularities are removed, the surface is ready for the multi-stage polishing process that will ultimately create the gloss finish.
Initial Grinding and Smoothing of Dental PMMA
Begin working with your dental PMMA using coarse abrasive wheels or burs to remove any obvious defects, flash, or milling residue. Use moderate pressure and allow the rotating instrument to do the work, as excessive force can generate heat that may distort or crack dental PMMA. Once the general shape is refined, move to progressively finer abrasive instruments, gradually reducing the grit size as you work. This staged approach to refining dental PMMA prevents deep scratches that would require extensive polishing time to remove later. When the surface appears relatively smooth and uniform without obvious scratches under normal lighting, your dental PMMA is ready for the actual polishing phase.
Multi-Stage Polishing Process for Dental PMMA
Coarse Polishing Phase for Dental PMMA
The coarse polishing phase removes the fine scratches left by grinding operations and creates an intermediate surface suitable for finer abrasives. Use a coarse polishing compound designed specifically for dental PMMA on a felt wheel or soft brush wheel. Apply the polishing compound generously to the wheel and work the dental PMMA systematically across the wheel's surface, avoiding static positioning that could create heat spots. Keep the restoration moving to ensure even polishing of your dental PMMA and prevent localized overheating. The coarse polishing phase typically takes two to three minutes per restoration, depending on the surface area and degree of surface irregularity present on the dental PMMA.
Monitor the surface appearance as you work, and stop when the scratches from the grinding stage have been replaced with a more uniform, slightly hazy appearance. This indicates that the coarse polishing compound has adequately prepared your dental PMMA for the subsequent medium polishing phase. Rinse the dental PMMA thoroughly under running water to remove all coarse polishing compound residue, as any particles left behind can scratch the surface during the next stage.
Medium Polishing Stage for Dental PMMA
The medium polishing stage uses a finer abrasive compound to further refine the surface of your dental PMMA. Transfer the restoration to a clean wheel and apply a medium-grit polishing compound appropriate for dental PMMA. Using the same systematic motion as the coarse phase, work the dental PMMA across the wheel with gentle pressure. The medium phase is critical because it begins to establish the base gloss that will be enhanced during final polishing. Continue until the hazy appearance from the coarse phase is replaced by a increasingly clear surface with visible light reflection on your dental PMMA.
Rinse the dental PMMA again under running water to remove all medium-grit compound particles. Examine the surface under magnification if available to ensure an even appearance. Any remaining scratches or uneven areas should be subtle and visible only under direct lighting. At this point, your dental PMMA is nearly ready for the final polishing stage that will create the desired gloss finish.
Fine Polishing and High Gloss Finishing for Dental PMMA
The final polishing stage transforms your dental PMMA from a semi-gloss appearance into a high-gloss, mirror-like finish. Use a fine polishing compound formulated for dental PMMA on a clean, soft wheel. Apply the polishing compound sparingly, as excessive compound can create a cloudy film that reduces perceived gloss. Work the dental PMMA across the wheel with minimal pressure, allowing the fine abrasive to gently refine the surface. This stage requires patience and attention to prevent overworking the dental PMMA, which can generate heat and potentially damage the restoration.
Continue the fine polishing process until the surface of your dental PMMA exhibits a pronounced gloss with strong light reflection. The final rinse is crucial, so thoroughly flush all polishing compound residue from your dental PMMA under running water. Dry the restoration completely with a lint-free cloth and inspect the gloss under various lighting conditions to confirm that the desired finish has been achieved on your dental PMMA.
Techniques and Best Practices for Optimal Results
Temperature Control When Polishing Dental PMMA
Maintaining proper temperature is essential when polishing dental PMMA because heat can cause distortion, discoloration, or even cracking of the acrylic material. Dental PMMA has a relatively low glass transition temperature, making it sensitive to thermal stress. Allow adequate cooling time between polishing phases if the dental PMMA becomes warm during processing. Some technicians use water spray or cooling media during final polishing of dental PMMA to maintain temperature control, though this must be done carefully to avoid introducing moisture that could affect the polish. Never allow your dental PMMA to become too hot to touch; if this occurs, stop polishing immediately and allow the restoration to cool completely before resuming.
Wheel Selection and Maintenance for Dental PMMA Polishing
The wheels you select for polishing dental PMMA significantly impact final results. Use felt wheels or soft brush wheels rather than hard wheels, as these materials conform to the surface of dental PMMA and provide more consistent results. Hard wheels can create unwanted scratches and heat damage to dental PMMA. Keep wheels clean between each polishing stage to prevent cross-contamination of abrasive compounds that could scratch your dental PMMA. Replace wheels when they become matted, worn, or contaminated, as deteriorated wheels cannot deliver the smooth polishing action required for achieving gloss on dental PMMA.
Dedicated wheels for each polishing stage ensure that no particles from coarse compounds remain on wheels used for fine polishing of dental PMMA. This separation of tools is particularly important when working with multiple restorations, as compound cross-contamination is a common reason for unsatisfactory polish results on dental PMMA. Maintain a labeling system to identify which wheel corresponds to which polishing stage.
Polishing Compound Selection for Dental PMMA
Selecting the correct dental PMMA polishing compounds is as important as the polishing technique itself. High-quality compounds designed specifically for dental PMMA provide superior results compared to generic polishing pastes. Look for compounds that are formulated to work effectively with acrylic materials and produce consistent gloss finishes. Some compounds contain additives that provide anti-bacterial or stain-resistance properties to polished dental PMMA. Always follow the manufacturer's recommendations for each polishing compound type to ensure optimal compatibility with your dental PMMA.
Store polishing compounds in sealed containers away from moisture and extreme temperatures to maintain their effectiveness. Expired or improperly stored compounds may perform poorly when applied to dental PMMA, resulting in suboptimal gloss or uneven finish. When beginning a new batch of polishing compound, test it on a practice sample of dental PMMA first to confirm performance before using it on actual restorations.
FAQ
What is the best polishing compound for dental PMMA?
The best polishing compound for dental PMMA is one specifically formulated for acrylic materials by a reputable dental supplier. Look for compounds that offer progressive grit stages, from coarse to fine, and that are proven to create high-gloss finishes on dental PMMA without generating excessive heat. Many premium dental PMMA polishing compounds include anti-microbial or stain-resistance additives. Test new products on sample dental PMMA restorations before using them on patient cases to verify quality and performance standards for your practice.
How long does it take to polish dental PMMA to a high gloss?
The total time to polish dental PMMA to a high gloss typically ranges from ten to twenty minutes per restoration, depending on the initial surface condition and the size of the dental PMMA item being polished. Simple denture bases with minor defects may require only ten to fifteen minutes, while complex dental PMMA restorations with multiple surfaces might need twenty minutes or more. Experience and familiarity with polishing techniques will reduce processing time on dental PMMA as you develop efficiency and muscle memory in applying the correct pressure and motion patterns.
Can dental PMMA be re-polished if the gloss finish is lost?
Yes, dental PMMA can be re-polished if the gloss finish becomes dull or scratched during use or adjustment. Chairside adjustments by clinicians often remove gloss from dental PMMA, making re-polishing necessary before returning the restoration to the patient. Begin re-polishing dental PMMA at the medium or fine polishing stage, depending on the extent of damage. If significant scratches are present, start with coarse polishing to remove them first. Re-polished dental PMMA can achieve results equivalent to the original finish, restoring both aesthetics and surface properties of the restoration.