
 EN
EN
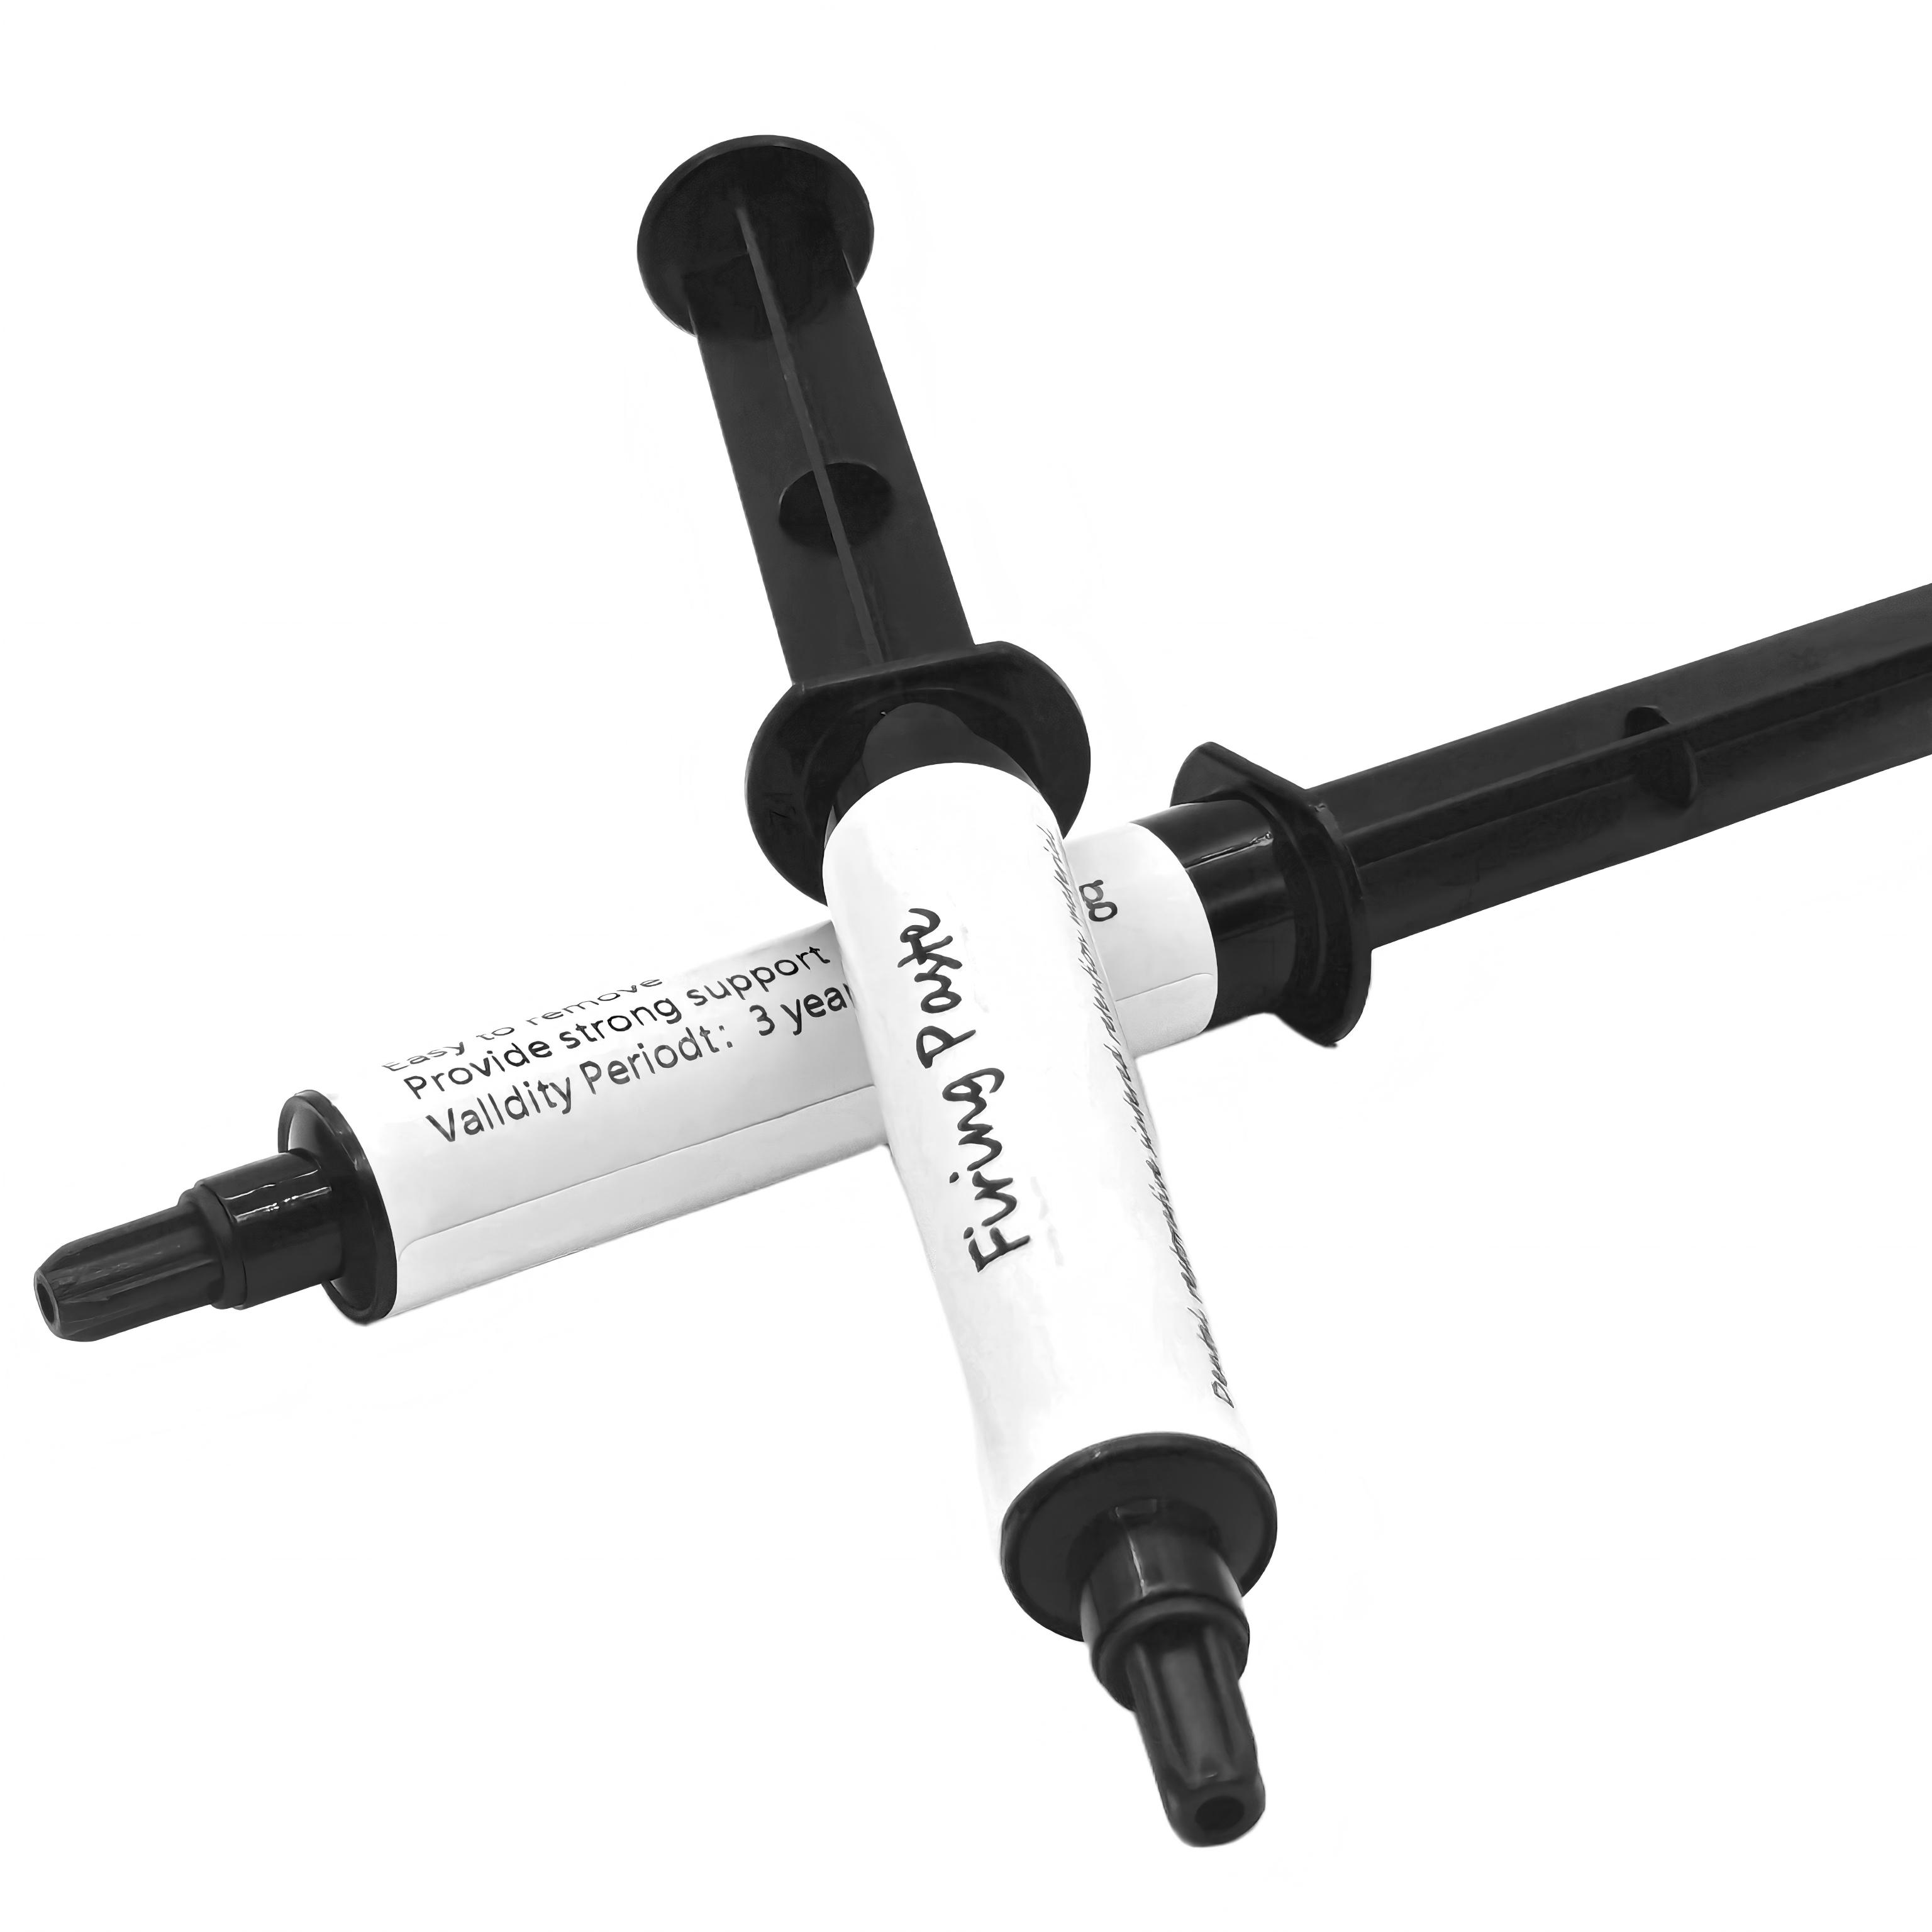
Applying dental firing paste air-free is one of the most critical skills in dental laboratory work, especially when creating high-quality restorations and ceramic prosthetics. The success of your final restoration depends heavily on how well you execute this technique. When dental firing paste is applied with air pockets trapped inside, it can lead to defects, discoloration, weak bonding, and ultimately compromised restorations that fail clinical performance standards. Understanding the proper methodology for air-free application of dental firing paste ensures that your work meets both aesthetic and functional requirements while maximizing efficiency in the lab.
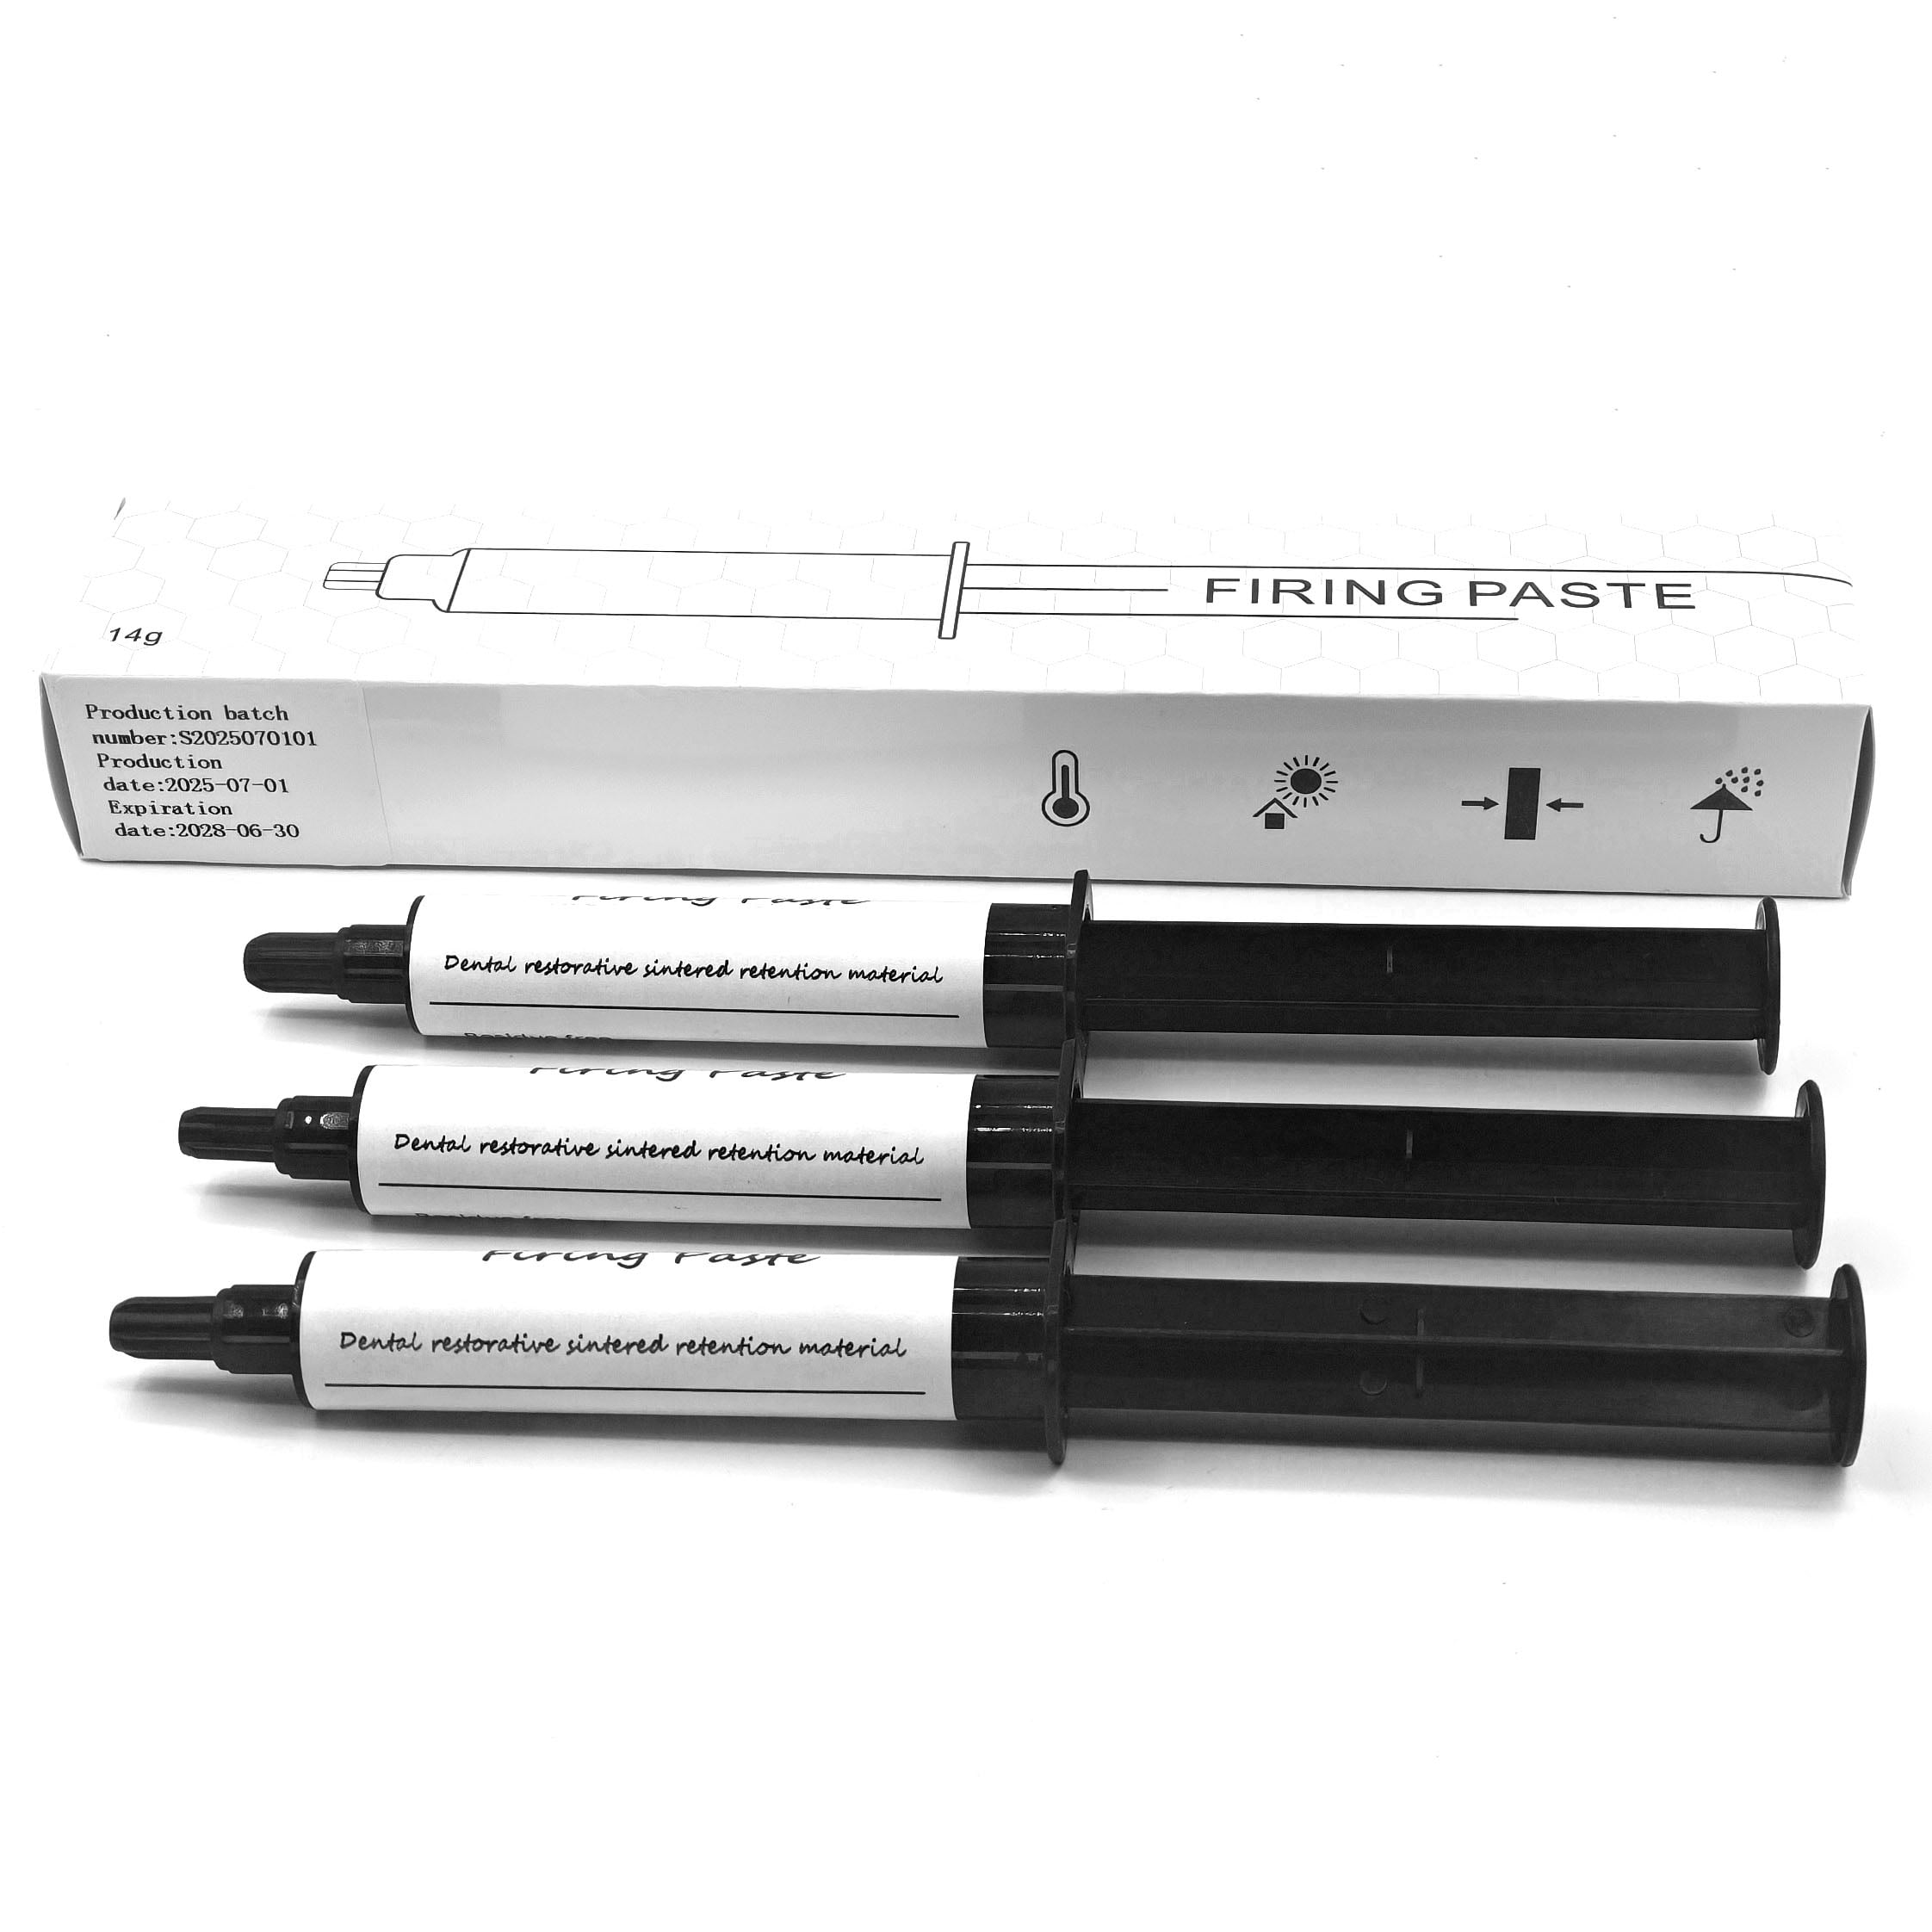
Many dental technicians struggle with air incorporation when working with dental firing paste, leading to costly rework and material waste. This comprehensive guide walks you through the essential preparation steps, application strategies, and verification methods that professional labs use to achieve consistently air-free results. By mastering these techniques, you will improve restoration quality, reduce defects, and establish yourself as a skilled practitioner in dental ceramics and prosthetics.
Preparation and Material Assessment
Understanding Your Dental Firing Paste Composition
Before you apply dental firing paste, you must understand its composition and working properties. Dental firing paste typically contains a binder system, ceramic particles, and a suspension medium that work together to create a stable, workable material. The consistency of your dental firing paste directly influences how easily you can eliminate air during application. Thicker dental firing paste resists air incorporation better, while thinner formulations require more careful technique to prevent bubble formation.
Inspect your dental firing paste container and assess its viscosity by observing flow characteristics. If the dental firing paste appears too thin or separated, gently stir it thoroughly using downward circular motions rather than vigorous mixing, which introduces more air. Never shake dental firing paste in the container; shaking creates thousands of tiny air bubbles that are difficult to remove.
Pre-Application Surface Preparation
The substrate surface where you will apply dental firing paste must be meticulously clean and dry. Use a soft brush or compressed air to remove all dust particles from your restoration surface. Any debris trapped under dental firing paste will create voids and weaken the bond. Allow your restoration to reach room temperature before application; cold surfaces can cause dental firing paste to set irregularly and trap air along the thermal gradient.
Step-by-Step Air-Free Application Technique
Loading and Initial Placement of Dental Firing Paste
Begin by taking a small amount of dental firing paste using a specialized applicator or fine brush. Hold your applicator at a 45-degree angle and allow dental firing paste to flow naturally onto the restoration surface rather than pressing it down forcefully. Gentle placement prevents air pockets from forming at the interface. Start from one corner and work methodically across the surface, maintaining consistent pressure and speed throughout your application of dental firing paste.
When applying dental firing paste, use overlapping strokes that slightly repass previously covered areas. This technique allows the fresh dental firing paste to push out trapped air bubbles. Never apply dental firing paste in isolated patches; instead, maintain a continuous application that creates a unified layer without discontinuities.
Consolidation and Bubble Elimination
Once your initial layer of dental firing paste is in place, use a vibration technique to release trapped air. Hold the restoration with dental firing paste firmly against a vibrating surface or use a dental vibrator set to low frequency. The vibration causes air bubbles within the dental firing paste to rise and escape from the surface. Continue this process for 30 to 60 seconds, depending on the thickness of your dental firing paste layer.
For thick applications of dental firing paste, apply the material in multiple thin layers rather than one heavy coat. Each layer of dental firing paste should be vibrated before applying the next layer. This staged approach to dental firing paste application virtually eliminates deep-trapped air that would be impossible to remove from a single thick application.
Surface Finishing and Verification
After vibration, examine the surface of your dental firing paste layer using angled lighting. Look for any visible bubbles, depressions, or irregularities. If you see air pockets in your dental firing paste, use a fine instrument to carefully pierce the bubble and allow excess dental firing paste to flow into the void. Smooth the area with a slightly dampened applicator while still working with the fresh dental firing paste.
Allow your applied dental firing paste to cure according to the manufacturer's instructions before moving to the next stage. The curing time varies based on your specific dental firing paste formulation, typically ranging from several minutes to several hours. Do not disturb the dental firing paste during this critical curing period.
Advanced Techniques and Quality Assurance
Using Centrifugal Force for Complex Geometries
For intricate restoration geometries where air-free application of dental firing paste is particularly challenging, consider using centrifugal equipment. This specialized approach involves placing your restoration with applied dental firing paste into a centrifuge, which generates outward force that pushes air bubbles toward the surface. Centrifugal processing of dental firing paste is especially effective for hollow structures and complex undercuts where manual vibration alone cannot reach.
Documentation and Quality Control Checkpoints
Implement a quality control system to verify your dental firing paste application meets air-free standards. Document each application step, including material batch, application date, and any deviations from standard technique. Inspect fired restorations for defects that indicate air was trapped in dental firing paste. Track defect patterns to identify whether issues stem from material properties, environmental conditions, or application technique.
Regularly cross-section failed restorations to examine where air pockets formed within the dental firing paste layer. This forensic analysis reveals whether air incorporation occurred during initial application, during vibration, or during the curing phase. Use these insights to refine your dental firing paste application protocol and train laboratory personnel on improved techniques.
FAQ
What causes air bubbles to form when applying dental firing paste?
Air bubbles form in dental firing paste primarily through improper mixing (shaking rather than gentle stirring), too-rapid application that traps air in the suspension, pressing dental firing paste down instead of allowing it to flow naturally, applying too-thick layers without intermediate vibration, and using material that has separated in storage. Cold surfaces and debris contamination also contribute to air incorporation in dental firing paste applications.
How long should you vibrate dental firing paste after application?
Most dental firing paste materials require 30 to 60 seconds of vibration at low frequency after application. The specific time depends on your dental firing paste thickness and the vibration intensity available in your lab equipment. Start with 30 seconds and gradually increase duration if you continue observing air bubbles in your dental firing paste inspections. Always consult your specific dental firing paste manufacturer's technical specifications for optimal vibration timing.
Can you reapply dental firing paste if air bubbles appear after initial curing?
Yes, you can reapply dental firing paste over incompletely cured material if air bubbles are detected early. If your dental firing paste has fully cured and defects are discovered later, you must remove the compromised layer and reapply fresh dental firing paste to the cleaned surface. Prevention through careful initial application remains more efficient than correction, making proper air-free technique essential for maintaining laboratory productivity.