
 EN
Applying glaze paste to dental lithium disilicate restorations is a critical finishing step that directly influences the aesthetic quality, longevity, and clinical success of ceramic restorations. Lithium disilicate glass-ceramics have become the material of choice for anterior and posterior restorations due to their superior optical properties and strength, yet their final appearance depends significantly on how well the glaze paste is applied and processed. Understanding the correct technique for applying glaze paste ensures that your restorations achieve the desired surface texture, color saturation, and light-reflecting characteristics that patients expect from modern dental ceramics.
The application of glaze paste requires precision, proper material preparation, and attention to detail at every stage. Whether you are a laboratory technician, prosthodontist, or clinical dentist involved in ceramic restoration fabrication, mastering glaze paste application techniques will improve your restoration quality and reduce rework. This guide provides a comprehensive, step-by-step approach to applying glaze paste to lithium disilicate restorations, covering surface preparation, material selection, application methods, firing protocols, and troubleshooting strategies that ensure consistent clinical success.
Surface Preparation and Pre-Application Setup for Glaze Paste
Cleaning and Inspection Before Glaze Paste Application
Before beginning glaze paste application, the lithium disilicate restoration surface must be thoroughly cleaned to remove all dust, debris, and previous firing residue. Use a soft brush or compressed air to eliminate loose particles, then gently rinse the restoration under distilled water and allow it to dry completely. Inspect the entire surface under magnification to identify any surface irregularities, microcracks, or areas where previous glaze paste layers may have accumulated unevenly. This inspection ensures that your glaze paste application will adhere uniformly and cure without voids or defects that could compromise the final result.
Selecting the Appropriate Glaze Paste Formulation
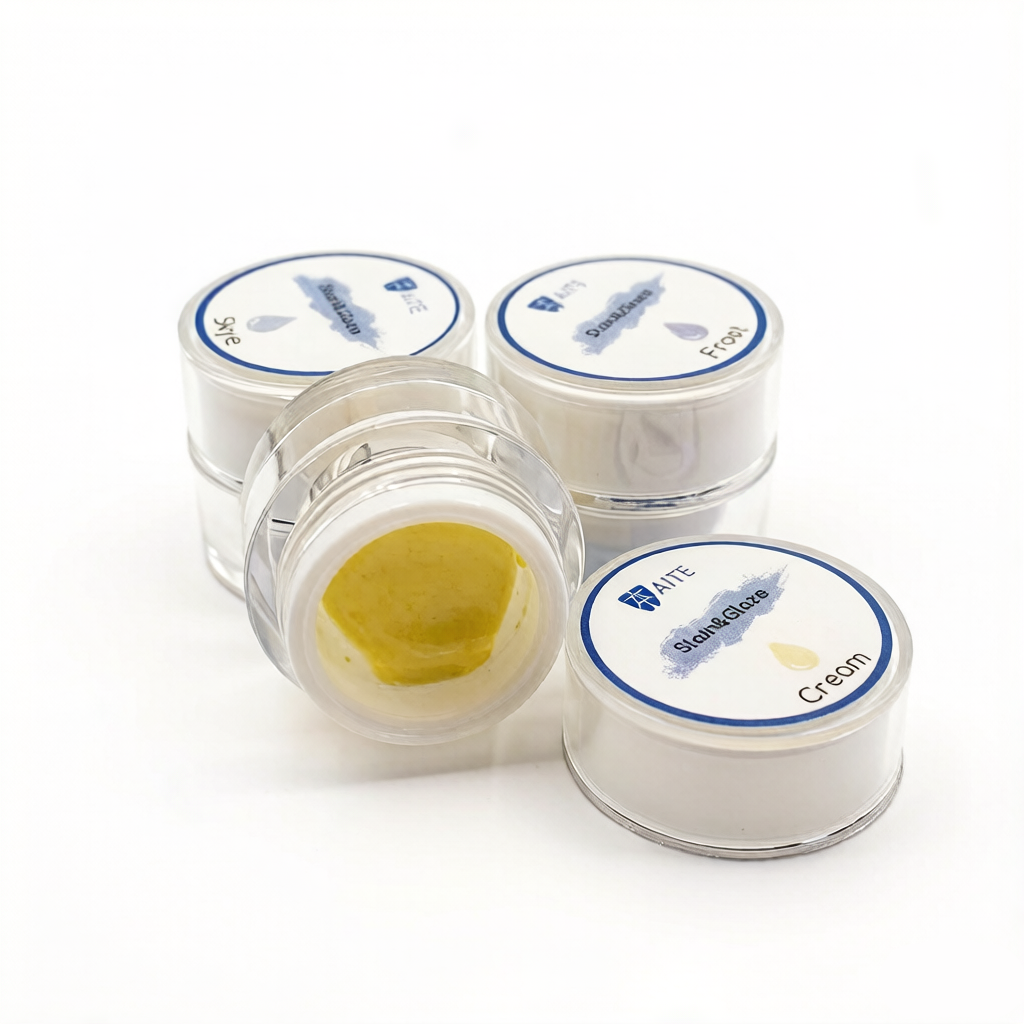
Different glaze paste products are formulated specifically for lithium disilicate ceramics, and selecting the correct glaze paste ensures optimal bonding and firing behavior. High-quality glaze paste products designed for lithium disilicate systems contain compatible thermal expansion coefficients and fusing temperatures that prevent crazing, peeling, or color shift during the firing cycle. When choosing your glaze paste, verify that the manufacturer specifies its use for lithium disilicate materials, as incompatible glaze paste formulations may result in surface defects, adhesion failure, or unwanted color changes that compromise your restoration's appearance and durability.
Application Techniques and Coating Methods for Glaze Paste
Brush Application Method for Precise Glaze Paste Coverage
Brush application is the most common and controlled method for applying glaze paste to lithium disilicate restorations. Use a fine-tipped, natural-bristle brush appropriate for the glaze paste consistency, and work systematically across the entire restoration surface in smooth, overlapping strokes. Maintain consistent brush pressure and avoid applying glaze paste too thickly in any single area, as excessive buildup can result in glossy spots, color inconsistency, or uneven surface texture. Apply glaze paste in thin, uniform layers, allowing each pass to create a transparent or semi-transparent coating that fuses smoothly during firing without visible brush marks or thickness variations.
Layering Strategy and Thickness Control for Optimal Results
The ideal thickness of applied glaze paste depends on the specific product and the lithium disilicate restoration type, but most manufacturers recommend a single thin coat or multiple micro-thin layers. A single thin application of glaze paste typically produces superior results compared to heavy single-coat application, as thin layers cure more uniformly and reduce the risk of surface defects. If your restoration requires enhanced saturation or color modification, apply glaze paste in two or three successive thin coats, allowing adequate drying time between applications. This layering approach with glaze paste ensures even color development, smooth surface finish, and proper material fusion without the risk of over-application complications that thicker single coats can introduce.
Firing Protocol and Post-Firing Finishing for Glaze Paste Applications
Furnace Settings and Temperature Control for Glaze Paste Curing
Proper furnace programming is essential for successful glaze paste application to lithium disilicate restorations. Set your furnace to follow the specific firing curve recommended by the glaze paste manufacturer, typically ranging from 680 to 750 degrees Celsius depending on the product formulation. Program a gradual heating rate to prevent thermal shock and allow moisture trapped in the glaze paste layer to escape without creating surface bubbles or voids. Once the target temperature is reached, maintain that temperature for the duration specified in the glaze paste instructions, usually between 1 and 5 minutes, then allow the restoration to cool naturally inside the furnace or on a cooling block according to the material's thermal expansion requirements.
Post-Firing Inspection and Surface Refinement After Glaze Paste Application
After the furnace cycle completes and the restoration has cooled, inspect the glaze paste layer for uniform color, smooth surface texture, and proper gloss level. If the glaze paste application has produced the desired aesthetic result with appropriate surface characteristics, no further treatment may be necessary. However, if certain areas appear under-glazed, show color variation, or lack the intended surface finish, a second application of glaze paste followed by a second firing cycle can address these concerns. For restorations where glaze paste has created excessive gloss or an undesired shine, light surface adjustment using specialized polishing techniques can modify the surface texture while preserving the glaze paste layer's protective and aesthetic benefits.
FAQ
What is the ideal drying time between glaze paste applications?
Drying time between glaze paste coats typically ranges from 5 to 15 minutes at room temperature, depending on ambient humidity and the specific glaze paste formulation. Allow sufficient time for the applied glaze paste to reach a leather-hard or fully dry state before applying subsequent layers, as applying glaze paste over wet underlayers can trap moisture and cause defects during firing. Check your glaze paste product documentation for the manufacturer's recommended drying interval to ensure optimal adhesion and uniform coating quality.
Can glaze paste be applied to lithium disilicate restorations after surface staining?
Yes, glaze paste is frequently applied after staining to seal and protect the stain layer while adding additional color saturation and surface refinement. In this workflow, apply your dental stains first, fire the restoration, then apply glaze paste over the cooled restoration to complete the surface treatment. This sequence with glaze paste ensures that stain colors remain stable and protected while the glaze paste layer creates the final aesthetic appearance, surface texture, and glossiness that define the restoration's clinical success.
What are common defects that occur with improper glaze paste application?
Common glaze paste application defects include brush marks, uneven color distribution, surface bubbling, glossy spots, or complete adhesion failure if the glaze paste is incompatible with the lithium disilicate base. Thick application of glaze paste often causes these issues, as excessive material buildup prevents uniform firing and creates irregular surface characteristics. Using high-quality glaze paste products, applying thin uniform coats, following exact furnace protocols, and maintaining clean restoration surfaces before glaze paste application prevent most defects and ensure consistent, professional results.