
 EN
EN
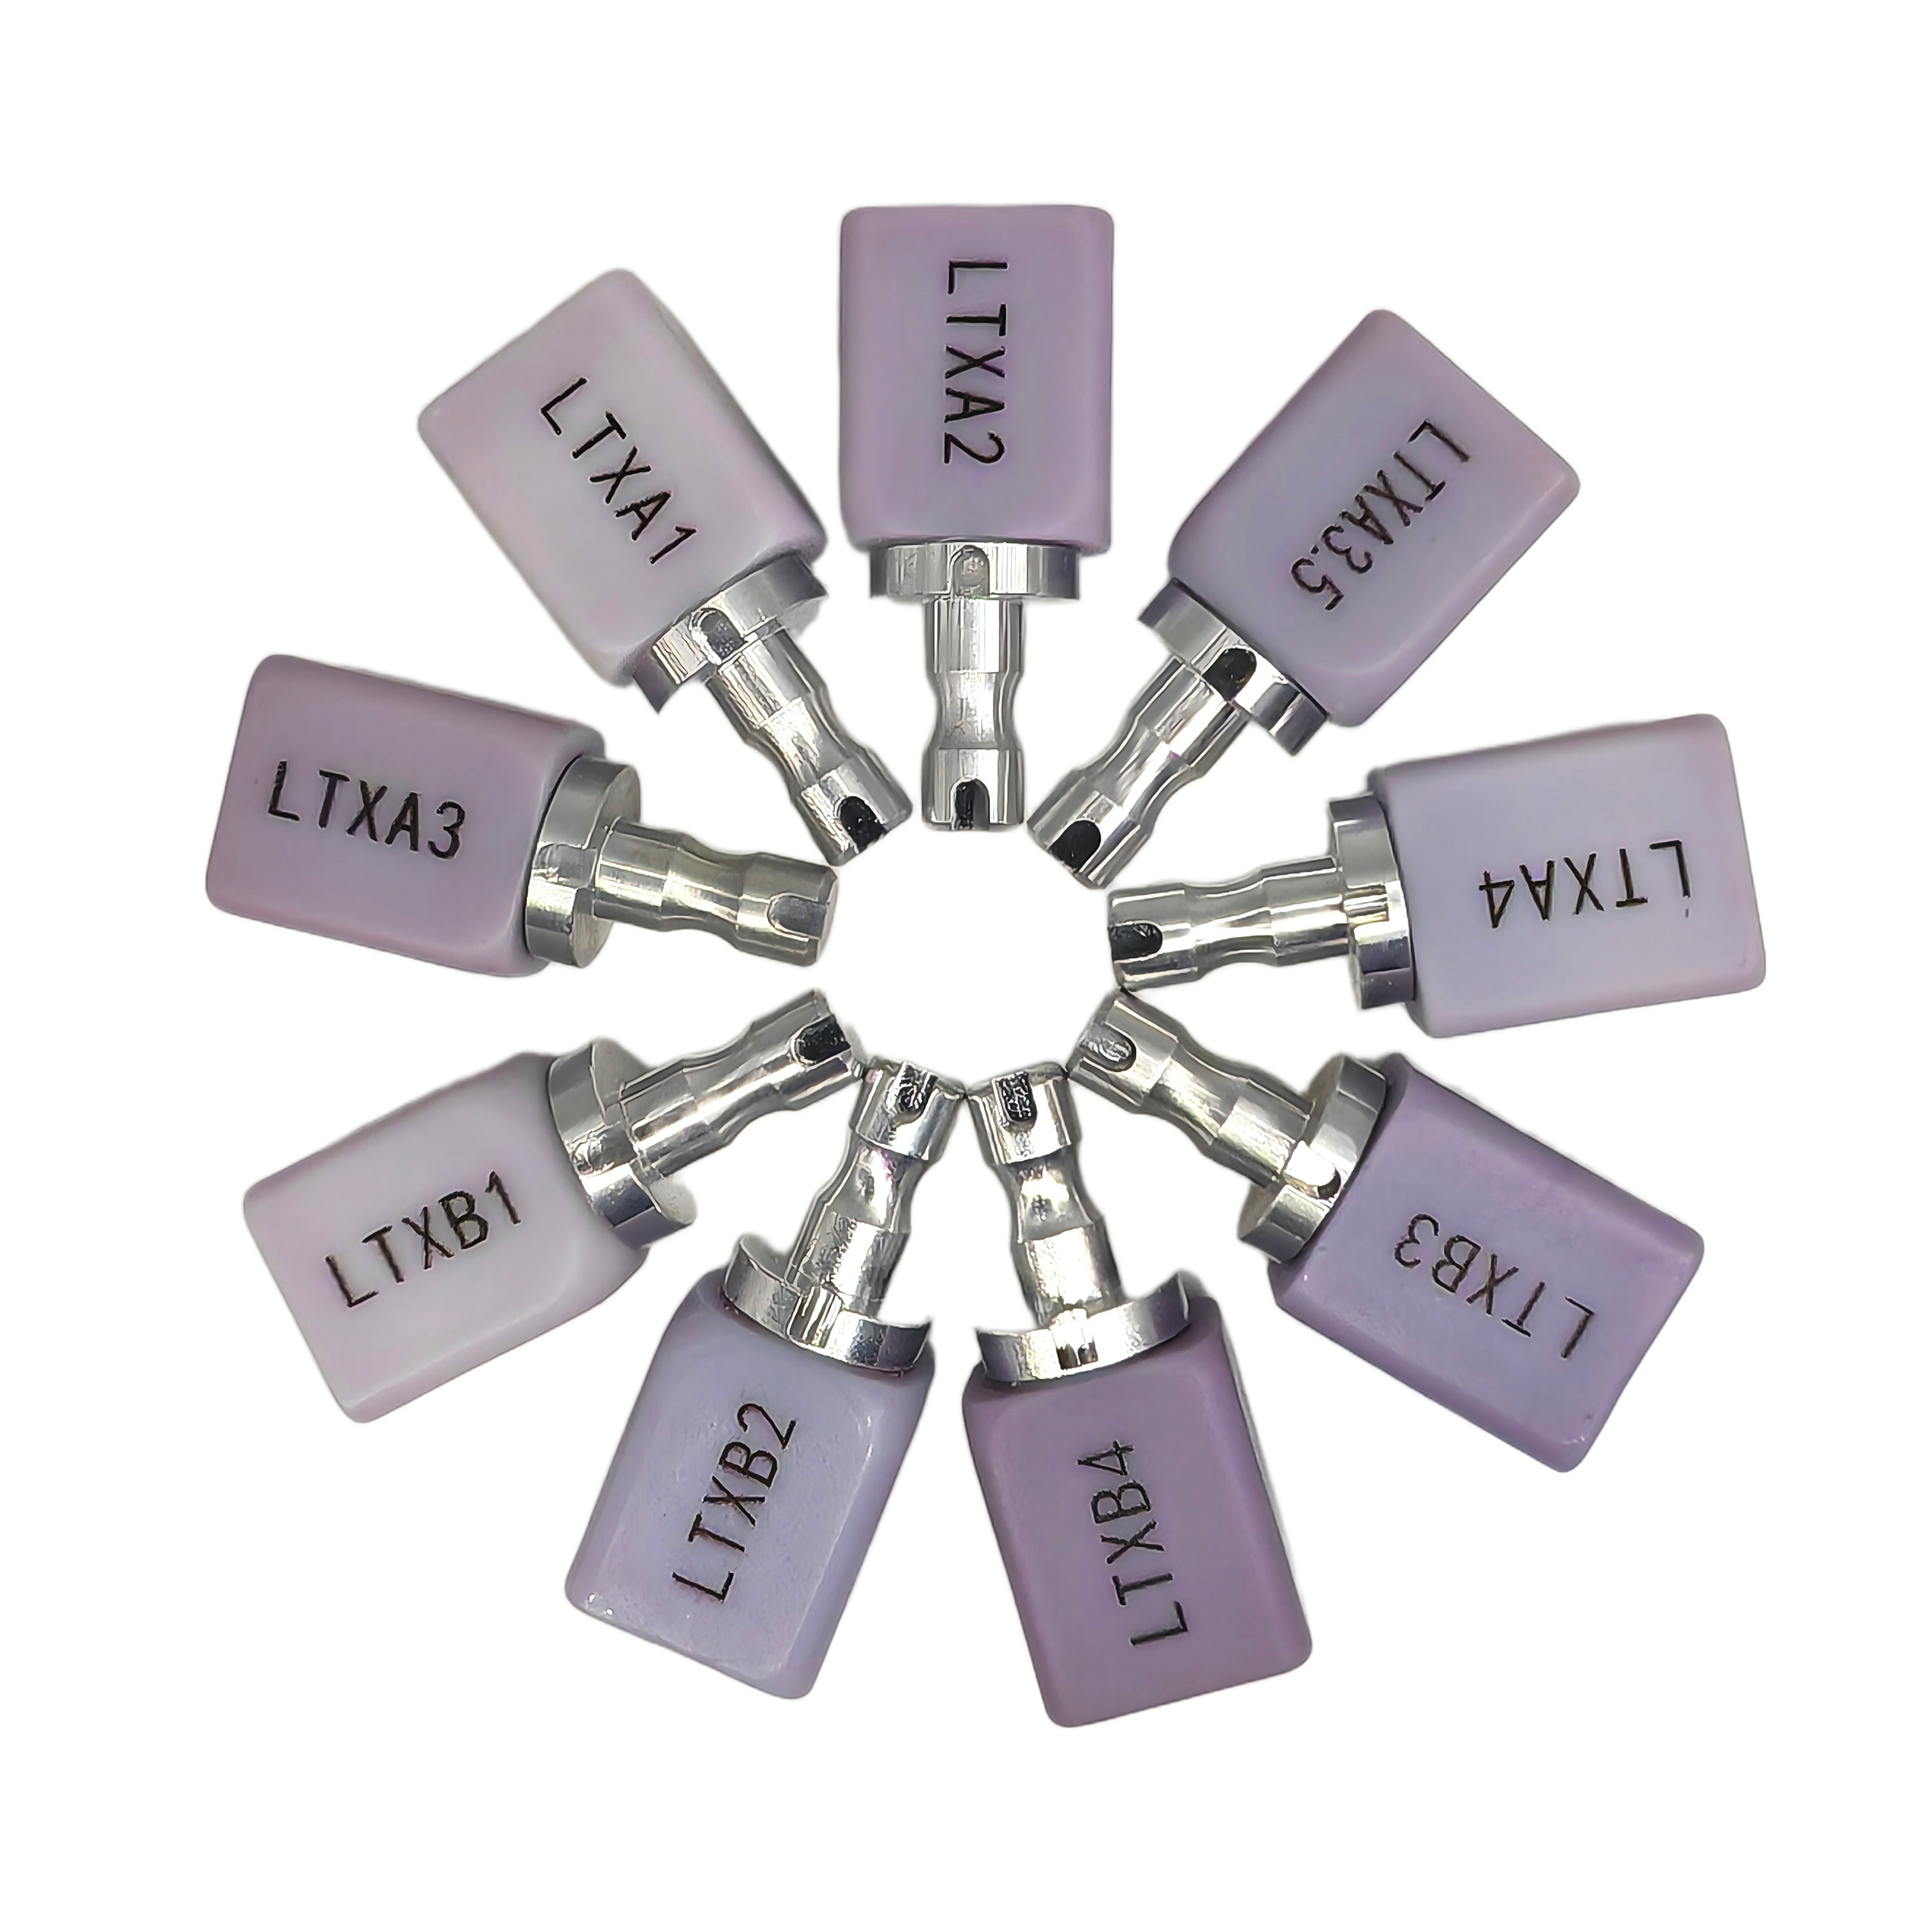
Dental lithium disilicate glass ceramic stands as one of the most popular choices for high-aesthetic dental restorations, offering excellent translucency and color matching capabilities. However, many clinicians and technicians encounter challenges with chipping and fracture, particularly in areas subject to mechanical stress. Understanding how to avoid chipping in dental lithium disilicate glass ceramic is essential for creating long-lasting restorations that meet patient expectations and reduce costly remakes.
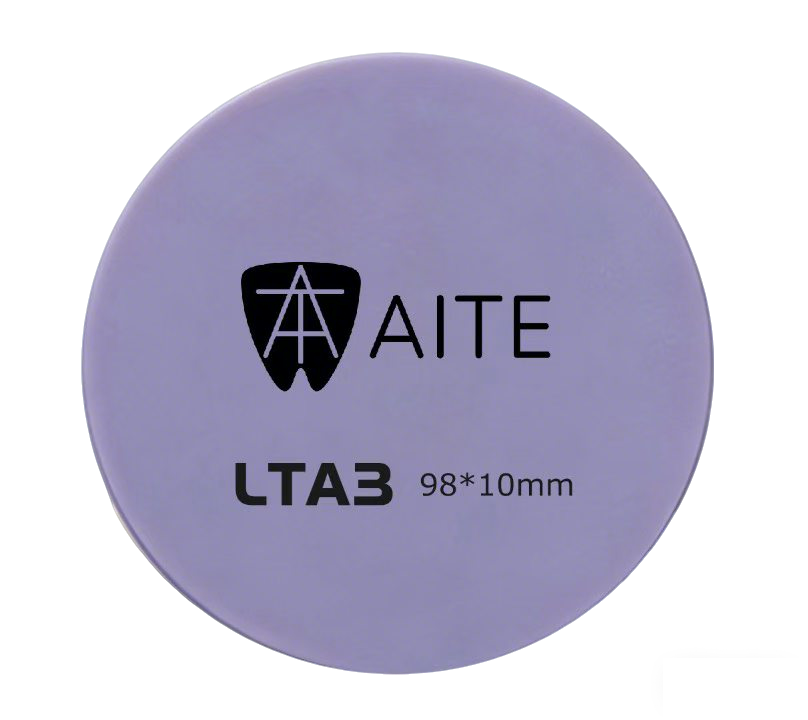
Chipping typically occurs during fabrication, delivery, or function, and it undermines the clinical success rate of otherwise excellent restorations. By mastering the fundamentals of material handling, design optimization, and proper cementation techniques, you can significantly reduce chipping incidents and enhance the durability of dental lithium disilicate glass ceramic restorations in your practice.
Understanding Material Properties and Brittleness
Why Dental Lithium Disilicate Glass Ceramic Is Prone to Chipping
Dental lithium disilicate glass ceramic possesses high strength and aesthetic appeal, but its crystalline structure creates inherent brittleness. Unlike metal restorations that can absorb and distribute stress through plastic deformation, dental lithium disilicate glass ceramic relies on its rigid crystal matrix to withstand loads. When stress concentrations exceed the material's fracture toughness, chipping occurs suddenly and without warning, making prevention through design and handling critical.
The crystalline phases within dental lithium disilicate glass ceramic create weak points where cracks can initiate. Surface flaws, micro-fractures from preparation, and inadequate support at restoration margins all contribute to chipping risk. Understanding these mechanical vulnerabilities helps technicians and clinicians anticipate problem areas and reinforce them during fabrication and delivery.
Thermal Stress and Its Role in Chipping
Thermal cycling during the finishing and glazing processes generates internal stresses within dental lithium disilicate glass ceramic. Rapid cooling after high-temperature firing creates differential shrinkage between surface and core layers, weakening the material and making it more susceptible to chipping during adjustment or function. Proper thermal management reduces these residual stresses and improves the material's resistance to fracture.
Design and Fabrication Best Practices
Optimizing Restoration Margins and Thickness
Margin design directly influences whether dental lithium disilicate glass ceramic will chip or remain intact over time. Thin, unsupported margins represent the highest-risk areas for chipping, particularly at incisal edges and cuspal peaks. Design guidelines recommend minimum thicknesses of 1.0 mm for cervical areas and 1.5 to 2.0 mm for incisal and cuspal zones, ensuring adequate bulk to resist functional stresses.
Sharp internal line angles and acute transitions in dental lithium disilicate glass ceramic restorations create stress concentrations that initiate chipping. Rounded internal angles with smooth transitions distribute stress more evenly throughout the restoration, reducing the likelihood of fracture initiation at vulnerable points. CAD-CAM design software should incorporate these principles automatically, but manual adjustments during fabrication require careful attention to radii and transitions.
Reinforcement Through Support and Backing
Full coverage and adequate underlying support prevent chipping in dental lithium disilicate glass ceramic restorations by distributing masticatory forces more evenly. Partial coverage designs expose unsupported ceramic edges that easily chip when subjected to lateral forces or functional movement. Where full coverage is not esthetically feasible, reinforcing the internal surface of dental lithium disilicate glass ceramic with a supporting material or ensuring adequate thickness at the restoration margin becomes essential.
Strategic placement of reinforcing elements within dental lithium disilicate glass ceramic designs, such as adequate thickness at the proximal line angles and continuous support at the preparation margins, significantly reduces chipping incidents. Technicians should review each restoration design before milling to identify thin spots and areas of unsupported ceramic that require modification.
Handling, Cementation, and Delivery Techniques
Protective Measures During Fabrication and Adjustment
Many chipping incidents in dental lithium disilicate glass ceramic occur during laboratory processing and clinical adjustment rather than in function. Protecting the restoration with temporary backing materials or stabilizing fixtures during initial milling reduces mechanical shock and prevents surface damage. Avoid direct impact, excessive vibration, and sudden temperature changes during all handling phases of dental lithium disilicate glass ceramic processing.
When adjusting dental lithium disilicate glass ceramic restorations at delivery, use light intermittent pressure rather than continuous grinding, which generates heat and mechanical stress. High-speed adjustment should be minimized; instead, use careful hand instruments and silicone-based polishing points to achieve final contact adjustments. Glazing after delivery adjustments restores the protective surface layer of dental lithium disilicate glass ceramic and reduces chipping vulnerability.
Proper Cementation and Support
Inadequate bonding creates voids beneath dental lithium disilicate glass ceramic restorations, allowing micromotion and stress concentration that leads to chipping at margins and internal surfaces. Use of appropriate resin cements with proven bonding characteristics ensures monolithic integration of the restoration with the prepared tooth, distributing stress evenly and preventing stress-induced fractures. Complete seating and elimination of air voids are essential during cementation to prevent localized stress concentrations.
Excess cement at margins of dental lithium disilicate glass ceramic restorations should be removed carefully using non-traumatic techniques that do not introduce micro-chipping at the restoration edge. Proper moisture control during cementation ensures optimal cement polymerization and complete adaptation of dental lithium disilicate glass ceramic to the prepared tooth surface, reducing the risk of debonding-related chipping.
Occlusal Adjustment and Patient Guidance
Occlusal forces must be verified and adjusted to ensure even loading across the entire restoration surface of dental lithium disilicate glass ceramic. Concentrated contact points or high contact points create stress risers that initiate chipping when subjected to repeated functional loading. Multiple appointments for gradual occlusal adjustment may be necessary to achieve balanced contacts and eliminate premature contact areas that predispose dental lithium disilicate glass ceramic to chipping.
Patient education regarding the material's brittleness helps prevent behavioral factors that contribute to chipping in dental lithium disilicate glass ceramic. Advise patients to avoid chewing on hard objects, ice, or sticky foods that generate excessive stress. Protective measures such as night guards for patients with parafunctional habits significantly extend the longevity of dental lithium disilicate glass ceramic restorations and reduce chipping incidents.
FAQ
Can adjusting the shade of dental lithium disilicate glass ceramic after delivery increase chipping risk?
Yes, any dental lithium disilicate glass ceramic adjustment removes the protective glaze layer and introduces surface stress points. Whenever possible, shade matching should be completed during fabrication rather than after delivery. If clinical adjustments are necessary, re-glazing the adjusted areas immediately restores the protective surface and minimizes chipping vulnerability in the dental lithium disilicate glass ceramic restoration.
What thickness of dental lithium disilicate glass ceramic is necessary to prevent chipping at cuspal areas?
Cuspal areas should maintain a minimum thickness of 1.5 to 2.0 mm to resist chipping and fracture in dental lithium disilicate glass ceramic restorations. Thinner sections create insufficient material mass to absorb and distribute the mechanical energy from masticatory forces. Adequate thickness combined with proper margin support and rounded internal line angles optimizes the resistance of dental lithium disilicate glass ceramic to cuspal chipping during function.
Does the choice of resin cement affect chipping incidence in dental lithium disilicate glass ceramic restorations?
The resin cement selection directly influences whether dental lithium disilicate glass ceramic restorations will remain bonded under functional stress or develop voids that cause chipping. High-strength, dual-cure resin cements specifically formulated for glass ceramic bonding provide superior retention and stress distribution. Poor adhesion or incomplete seating allows micromotion that concentrates stress and initiates chipping at margins and internal surfaces of the dental lithium disilicate glass ceramic restoration.
Table of Contents
- Understanding Material Properties and Brittleness
- Design and Fabrication Best Practices
- Handling, Cementation, and Delivery Techniques
-
FAQ
- Can adjusting the shade of dental lithium disilicate glass ceramic after delivery increase chipping risk?
- What thickness of dental lithium disilicate glass ceramic is necessary to prevent chipping at cuspal areas?
- Does the choice of resin cement affect chipping incidence in dental lithium disilicate glass ceramic restorations?