
 EN
EN
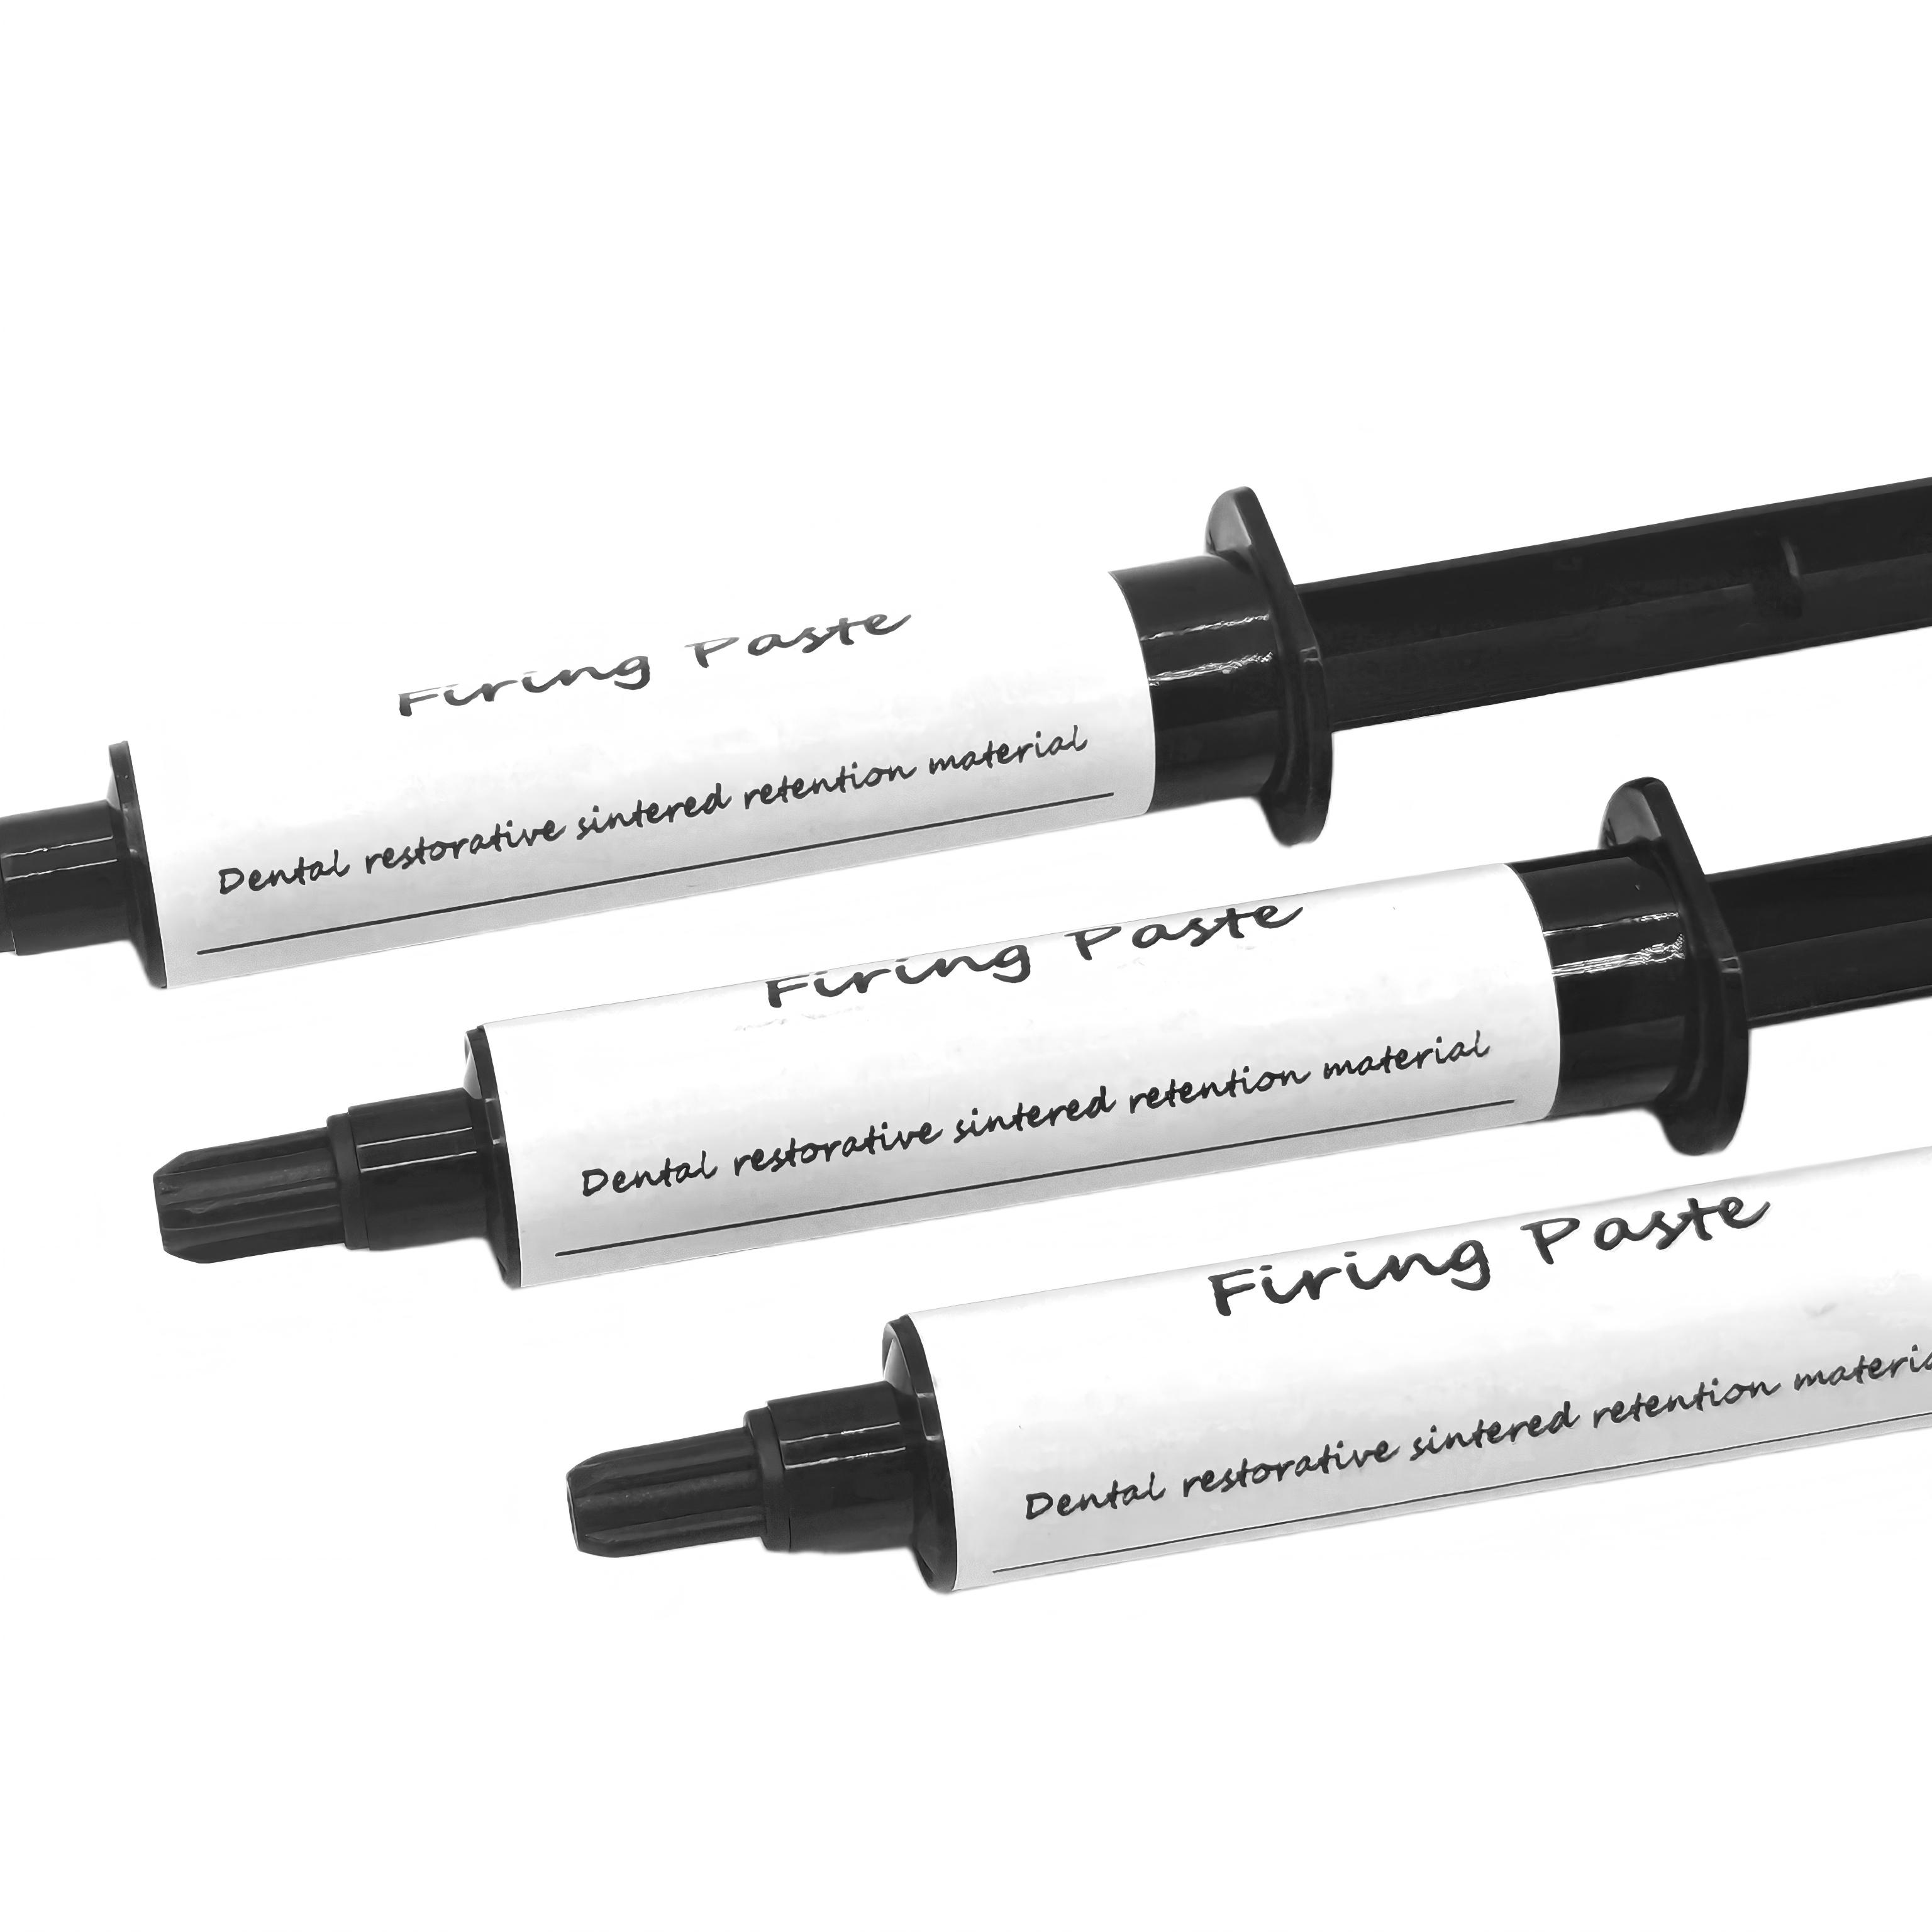
Dental firing paste is a critical component in the fabrication of high-quality dental prosthetics, including crowns, bridges, and ceramic restorations. During the firing process, this specialized paste protects and supports dental ceramics at extremely high temperatures. However, after the firing cycle completes, removing dental firing paste residue becomes essential to achieve the final aesthetic and functional quality of the restoration. Understanding the proper techniques for cleaning away dental firing paste ensures that your finished prosthetics meet exacting clinical standards and patient satisfaction requirements.
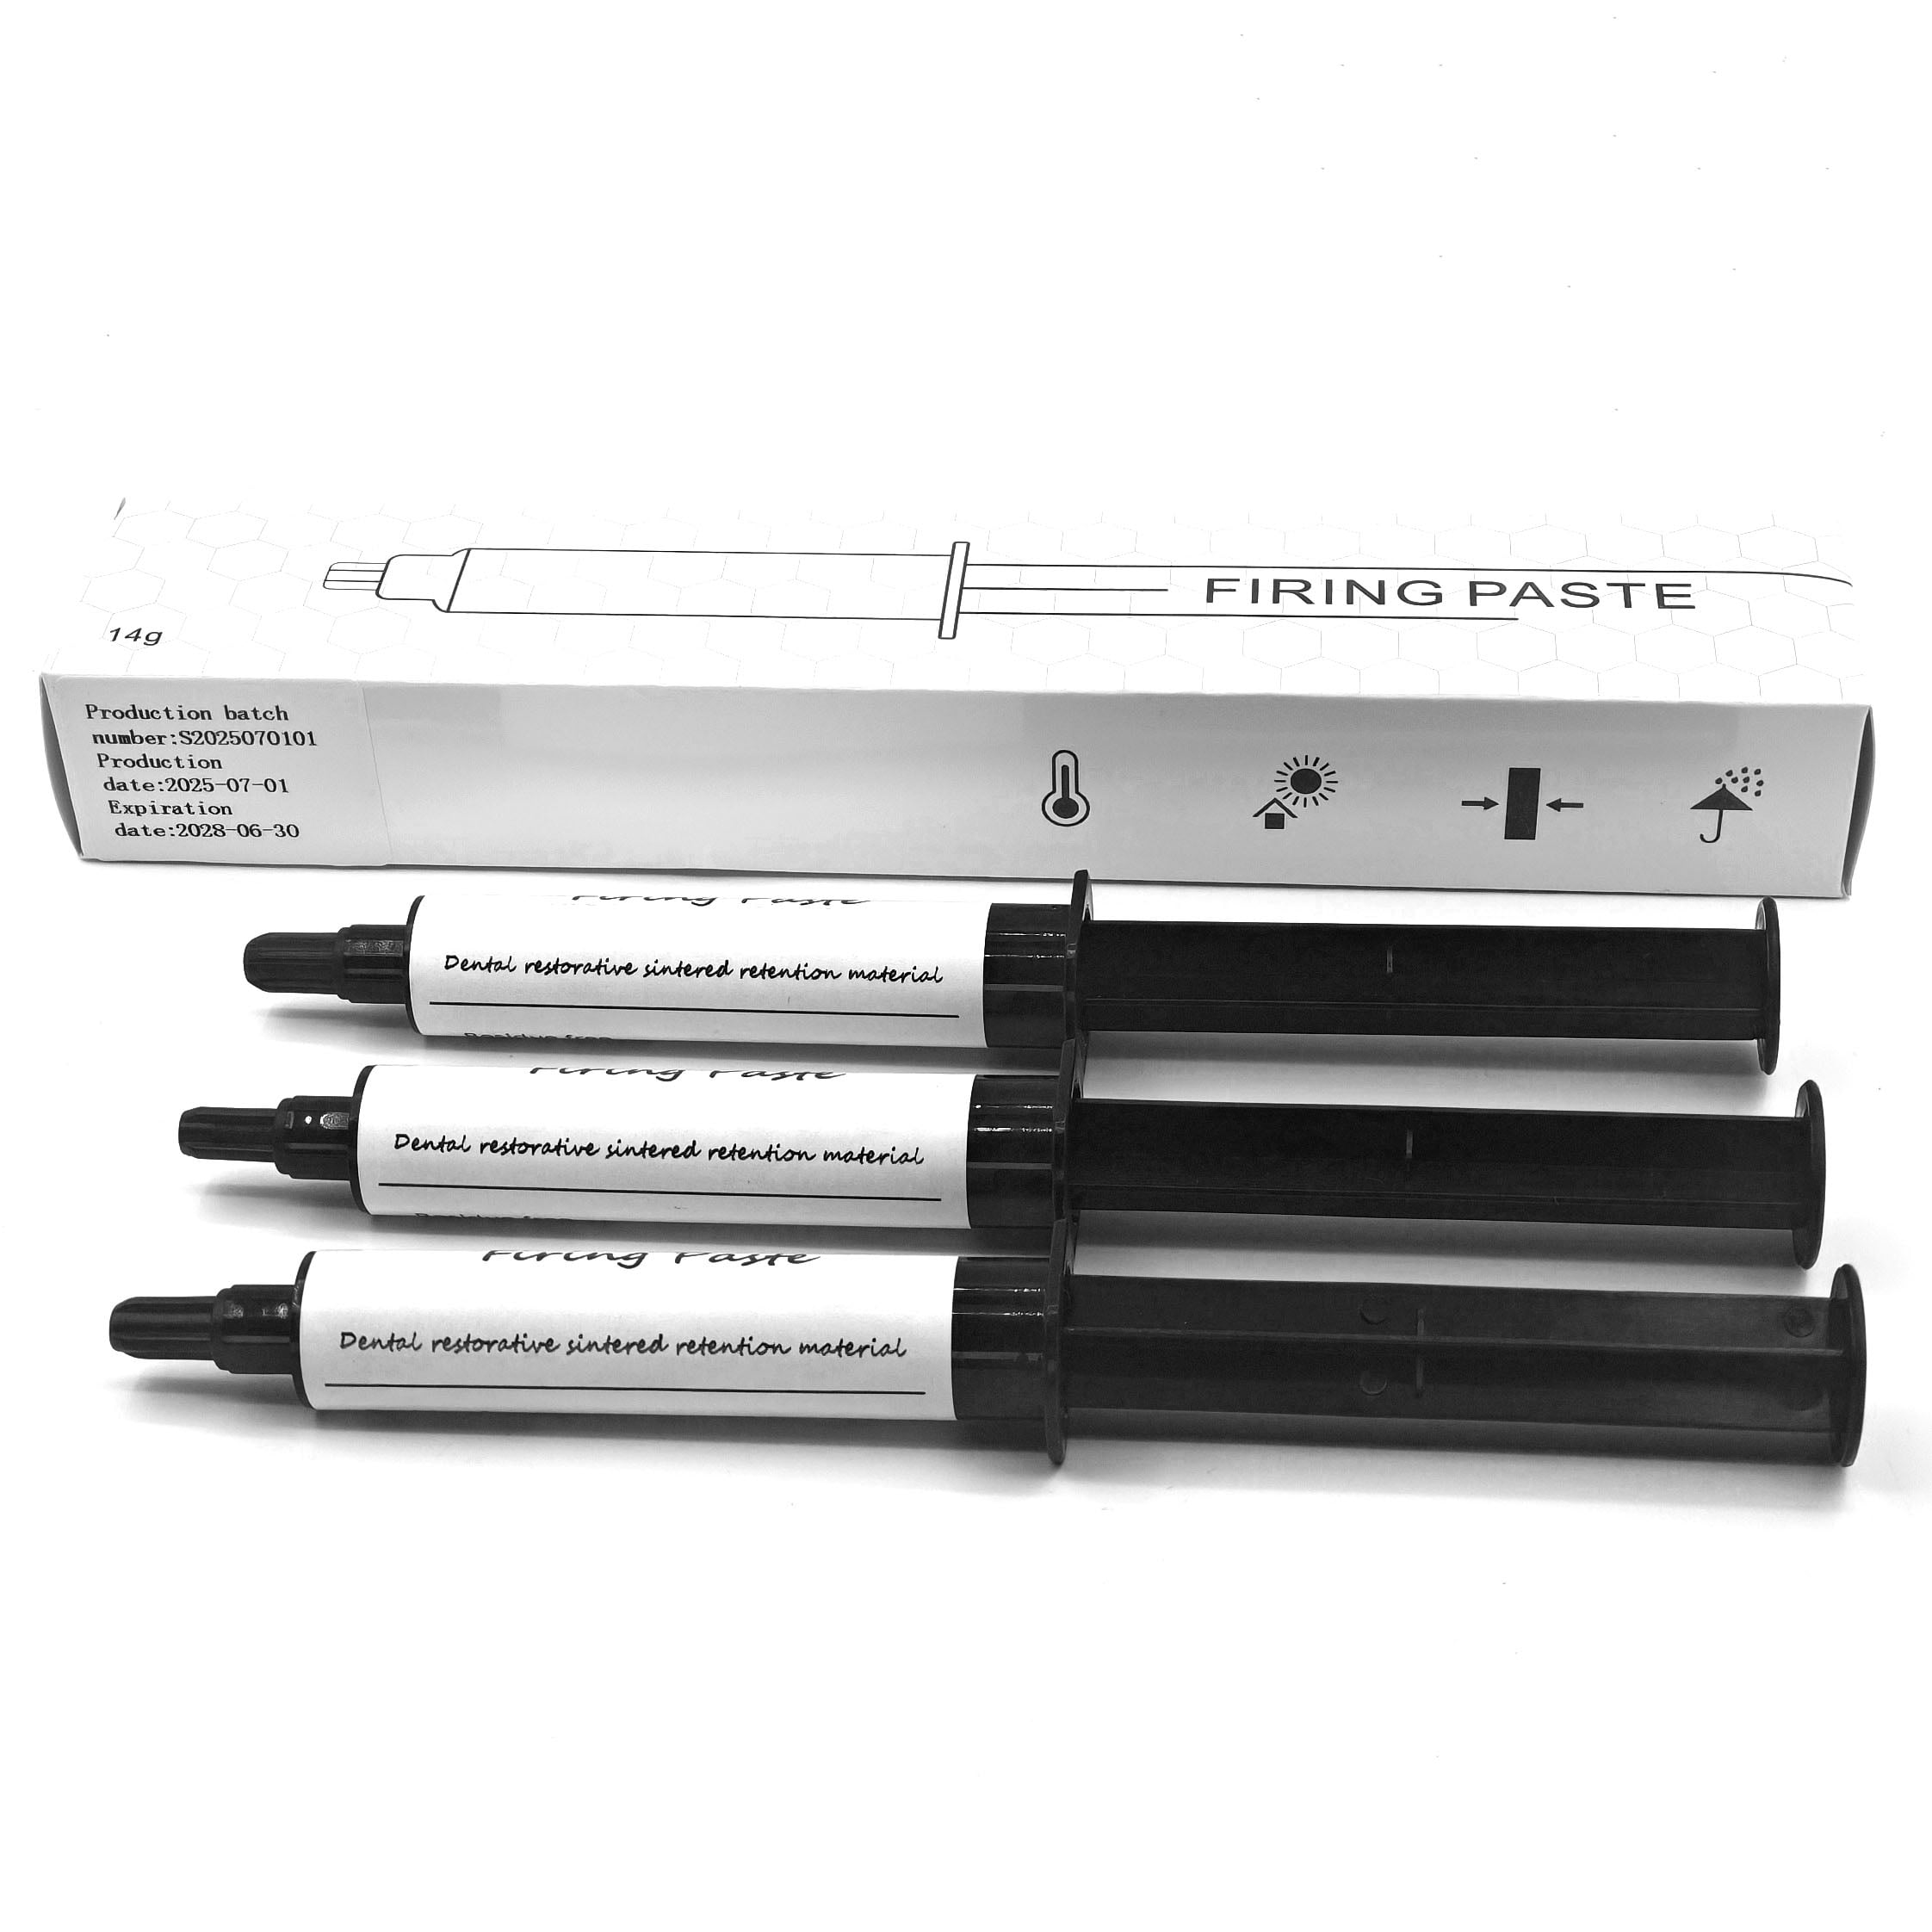
Residue left behind from dental firing paste can compromise the appearance, fit, and long-term durability of dental restorations if not properly removed. The paste hardens significantly during the high-temperature firing cycle, creating a bond that requires specific removal strategies. Whether you work in a laboratory setting or manage dental prosthetic production, mastering the removal process for dental firing paste is fundamental to delivering professional-grade restorations that meet both clinical and aesthetic expectations.
Understanding Dental Firing Paste Composition and Behavior
What Dental Firing Paste Does During Firing
Dental firing paste serves multiple protective functions during the ceramic firing process. This specialized material shields delicate ceramic surfaces from direct heat exposure, prevents unwanted color changes, and provides structural support for complex restoration geometries. The dental firing paste also facilitates even heat distribution across the prosthetic, which is critical for achieving uniform strength and appearance. When temperatures reach 900–1200 degrees Celsius depending on the ceramic system, the dental firing paste undergoes chemical transformation, becoming increasingly rigid and bonded to the ceramic surface.
Why Dental Firing Paste Becomes Difficult to Remove
After exposure to extreme heat, dental firing paste hardens into a glass-like or mineral compound that adheres firmly to the ceramic restoration. The bonding between the dental firing paste and the ceramic surface strengthens as cooling occurs, creating a stubborn residue layer. Understanding this behavior is essential because aggressive removal techniques can damage the underlying ceramic. The challenge lies in selecting removal methods that dissolve or soften the dental firing paste without compromising the integrity, surface texture, or color stability of your finished restoration.
Step-by-Step Methods for Removing Dental Firing Paste
Chemical Dissolution Approaches
The most effective strategy for removing dental firing paste involves chemical dissolution rather than mechanical scraping. Specialized dental firing paste removal solutions are formulated to break down the hardened residue without attacking the ceramic substrate. These chemical agents work by penetrating the dental firing paste layer and destabilizing the molecular bonds that form during firing. Begin by immersing the restoration in the appropriate removal solution for 15–30 minutes, allowing the chemical to soften and begin dissolving the dental firing paste. Gently agitate the restoration in the solution to facilitate contact between the chemical and all residue surfaces.
Mechanical Removal Techniques
After chemical treatment has softened the dental firing paste, careful mechanical removal becomes practical. Use soft brass brushes or specialized dental laboratory tools to gently brush away the loosened residue. Never use steel brushes or high-speed rotary tools, as these can scratch, pit, or alter the glaze on your ceramic restoration. Apply moderate pressure and work methodically across all surfaces where dental firing paste has accumulated. Pay particular attention to internal surfaces, margins, and contact areas where residue tends to pool. Multiple gentle passes with the dental firing paste removal solution and soft brushing typically work better than aggressive single-pass attempts.
Best Practices and Safety Considerations
Protecting Ceramic Integrity During Removal
The primary concern when removing dental firing paste is avoiding damage to the restoration you have worked to create. Always allow sufficient time for chemical softening before attempting mechanical removal; rushing this process dramatically increases the risk of chipping, cracking, or surface damage. Temperature control matters as well—warming the dental firing paste removal solution slightly enhances dissolution without introducing thermal stress to the ceramic. Test any new removal procedure on a practice restoration first. Document which combinations of timing, temperature, and technique produce the cleanest results with your specific firing paste formulations and ceramic systems.
Laboratory Safety and Waste Management
Working with dental firing paste removal chemicals requires proper personal protective equipment, including gloves, eye protection, and adequate ventilation. Follow the safety data sheets provided with your removal solutions and ensure proper disposal of spent chemical solutions according to local regulations. Many dental laboratory facilities now use closed-system ultrasonic cleaning systems that contain the dental firing paste removal process more safely and effectively than manual methods. These systems circulate heated removal solution around the restoration, loosening dental firing paste residue more completely while minimizing worker exposure to harsh chemicals. Investing in proper equipment reduces both safety risks and damage to restorations.
Finishing and Quality Verification
Final Cleaning and Surface Preparation
Once the bulk of dental firing paste has been removed, thorough rinsing with deionized water eliminates any remaining chemical residue and loose particles. Some restorations benefit from gentle ultrasonic cleaning in deionized water to access and remove dental firing paste particles from internal areas and crevices. After water rinsing, allow the restoration to dry completely and inspect it under magnification for any remaining dental firing paste traces. If areas persist, repeat the chemical softening and gentle mechanical removal cycle rather than applying excessive force. This iterative approach takes slightly longer but virtually eliminates the risk of ceramic damage.
Quality Inspection and Documentation
Inspect the finished restoration carefully before delivery to ensure all dental firing paste has been successfully removed and no damage has occurred during the cleaning process. Verify that surface glaze remains intact, color and translucency match specifications, and all margins are sharp and properly defined. Document your removal process and results, noting which techniques and timing intervals produced optimal outcomes for different ceramic systems and firing paste formulations. This documentation becomes invaluable for training laboratory staff and maintaining consistent quality across all restorations. Photography under standardized lighting conditions provides clear records of successful removals and helps identify any procedural improvements needed.
FAQ
Can I use ultrasonic cleaning alone to remove dental firing paste?
Ultrasonic cleaning is highly effective as part of a comprehensive approach but typically works best after chemical treatment has begun softening the dental firing paste. Ultrasonic vibrations alone may not fully dissolve hardened dental firing paste without chemical assistance. Combining ultrasonic energy with specialized removal solutions produces superior results compared to either method independently. Always start with chemical softening, then use ultrasonic cleaning to complete the removal and reach difficult areas.
How long can I safely store restorations while waiting to remove dental firing paste?
Most restorations can be stored at room temperature for several weeks after firing without degradation of the dental firing paste or ceramic. However, removing dental firing paste within a few days of firing is generally recommended because the residue bonds progressively stronger as time passes and materials fully cool. Storing restorations in sealed containers prevents dust contamination while you accumulate enough pieces to justify running a batch removal process. Documentation of firing dates helps you prioritize restorations for removal to maintain consistent workflow efficiency.
What should I do if dental firing paste damages the ceramic during removal?
If minor surface scratches occur while removing dental firing paste, polishing with fine abrasives may restore acceptable appearance depending on the damage severity and restoration location. For more significant damage or exposed porcelain structure, the restoration may require refiring after repair, or may need to be remade entirely. This outcome reinforces the importance of using gentle techniques and allowing adequate chemical softening time before mechanical removal. Investing in proper training and equipment for dental firing paste removal prevents costly restoration failures and maintains your reputation for quality.