
 EN
EN
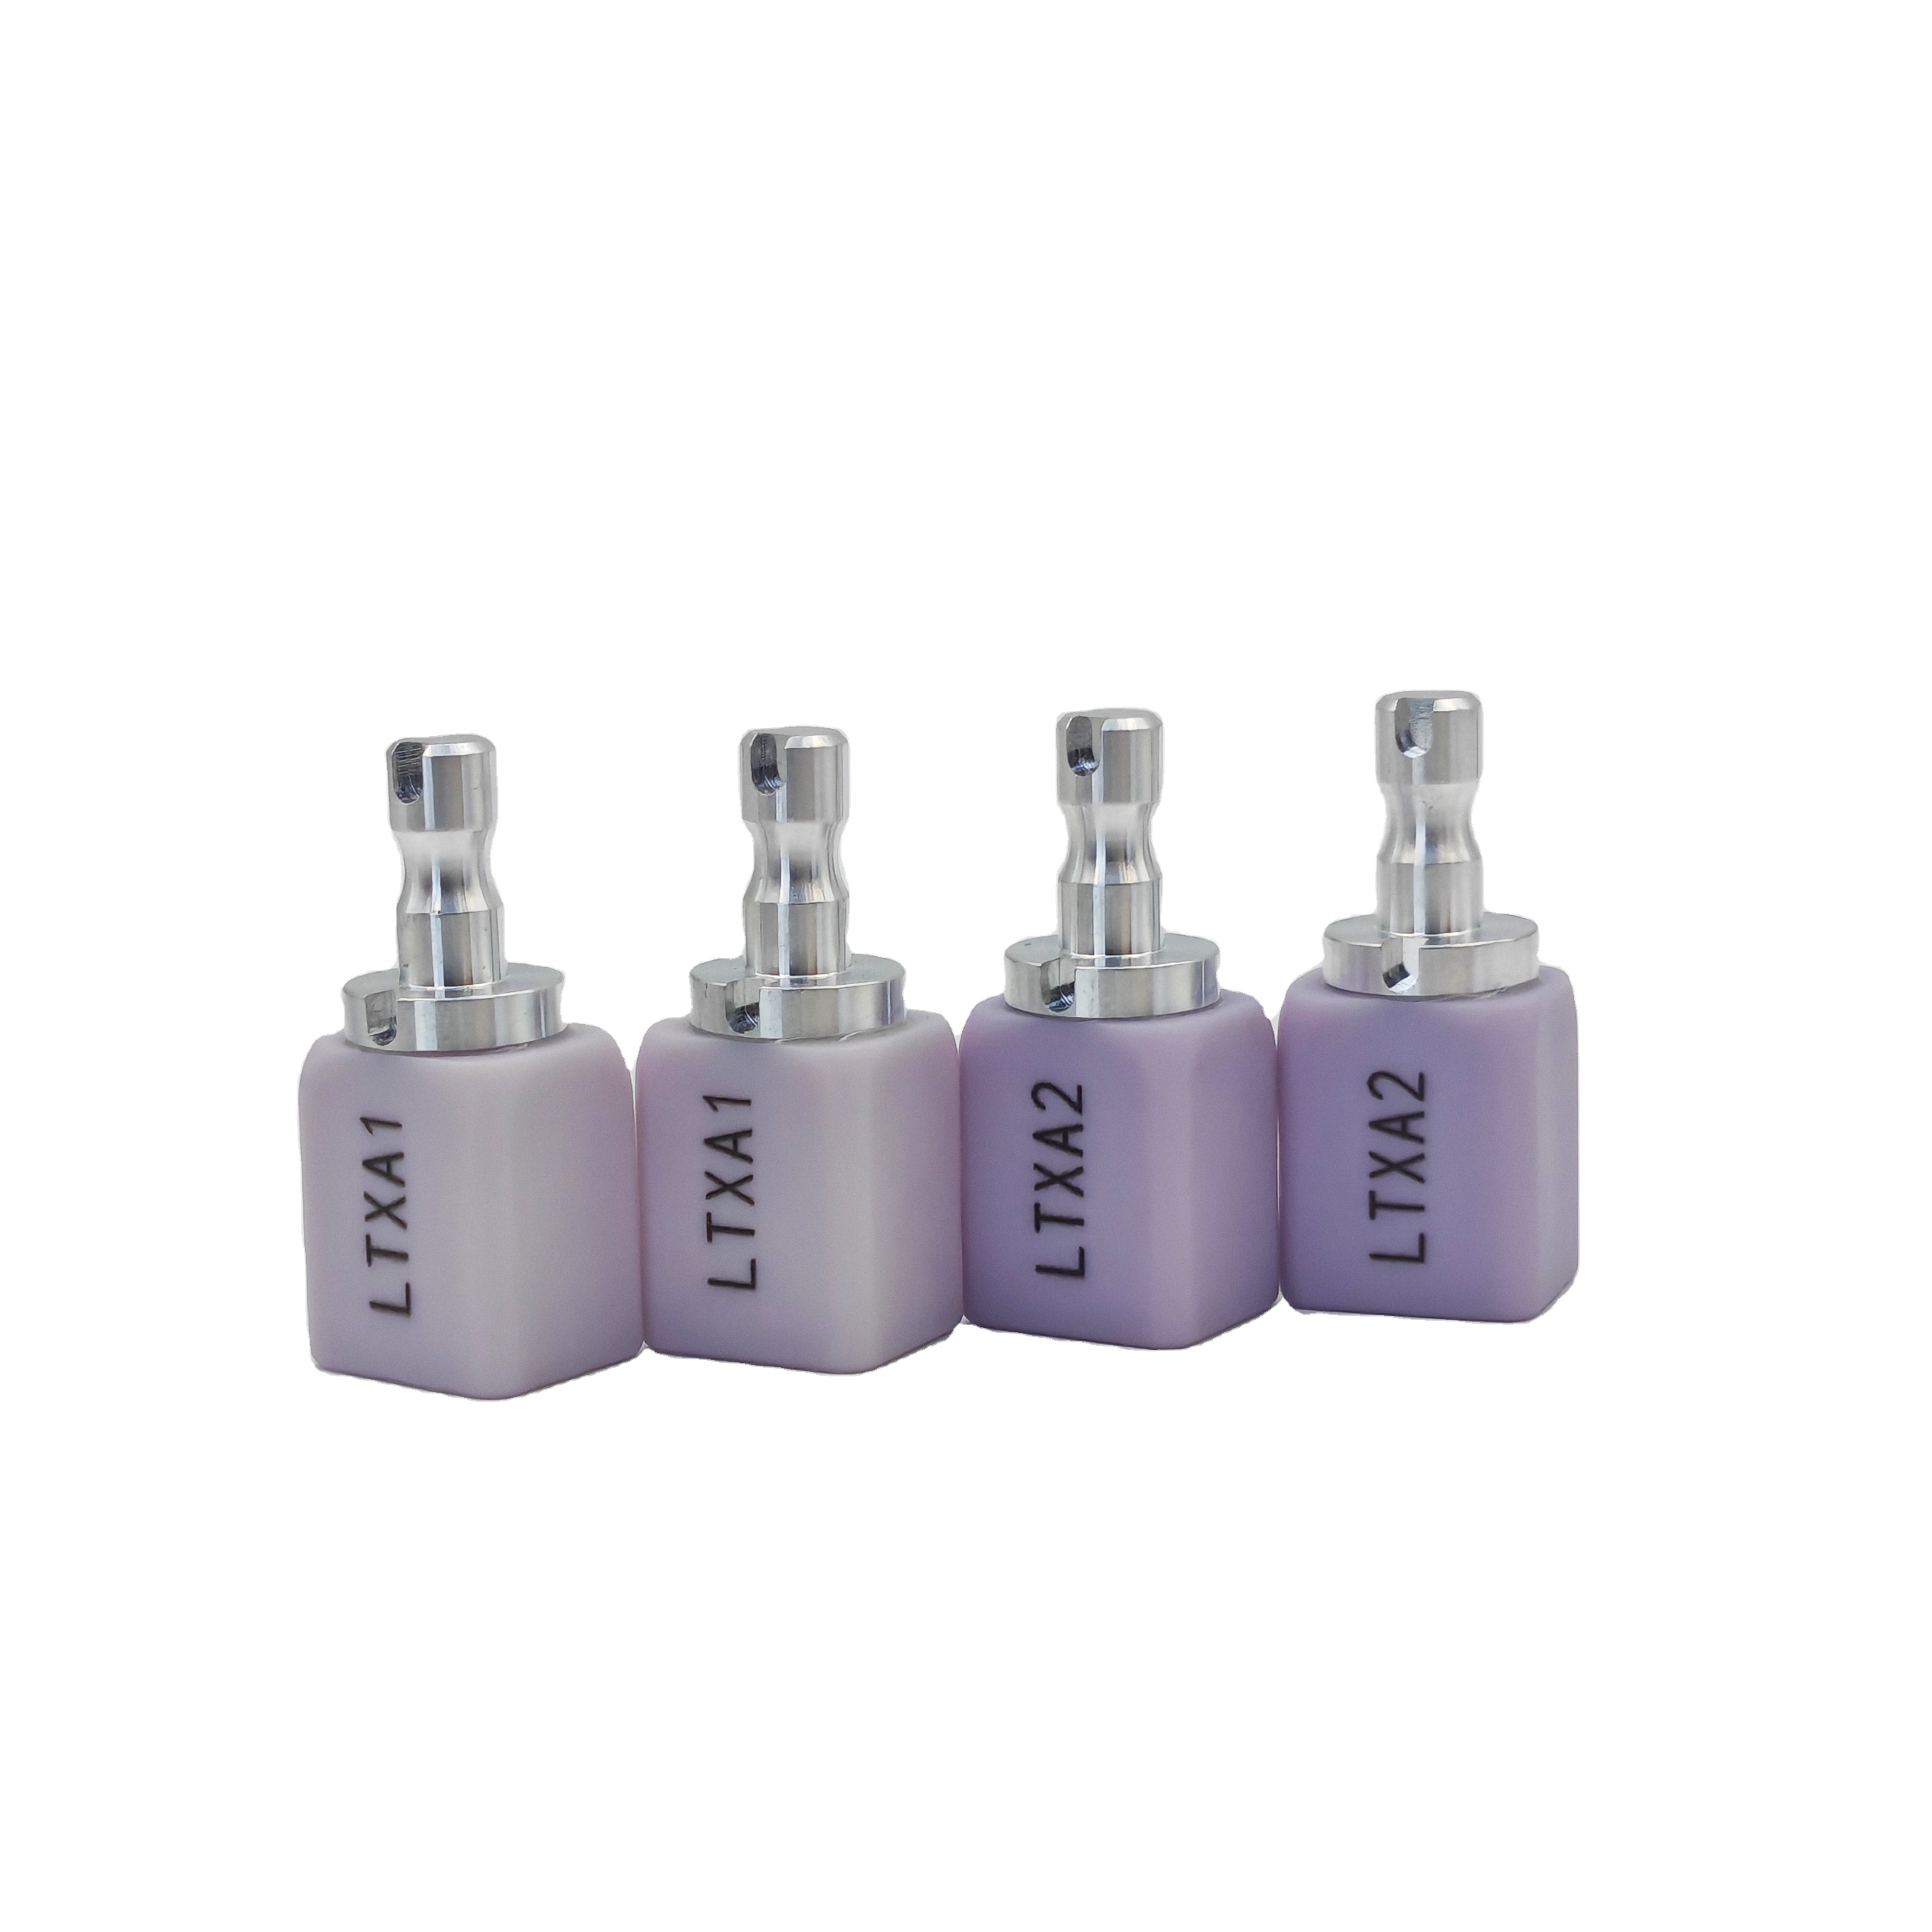
Dental lithium disilicate has become a cornerstone material in modern restorative dentistry, prized for its strength, translucency, and esthetic appeal. However, milling dental lithium disilicate without cracks requires precise technique, proper equipment calibration, and deep understanding of material behavior under cutting forces. Many clinicians and lab technicians encounter chipping and fracturing during the milling process, which compromises the restoration and wastes valuable material. This guide provides evidence-based strategies to mill dental lithium disilicate successfully while maintaining structural integrity throughout production.
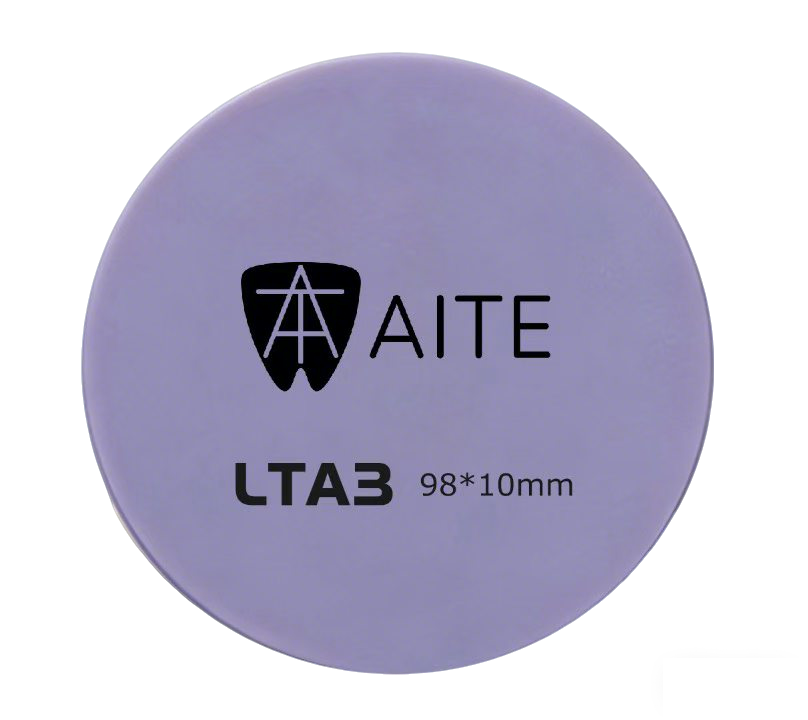
Understanding the crystalline structure of dental lithium disilicate is fundamental to preventing cracks and chipping. Lithium disilicate glass ceramics contain embedded lithium disilicate crystals that provide strength but also respond unpredictably to mechanical stress if milling parameters are not optimized. The material's brittleness means that improper tool selection, excessive spindle speed, or inadequate cooling can trigger microfractures that propagate into visible cracks. By applying targeted milling strategies, technicians can work with the material's inherent properties rather than against them, resulting in smooth, crack-free surfaces ready for glazing and delivery.
Understanding Dental Lithium Disilicate Material Properties
Crystal Structure and Brittleness Challenges
Dental lithium disilicate achieves its high strength through a carefully controlled crystal phase. The material contains 40–50 percent crystalline lithium disilicate embedded in a glassy matrix, which creates both advantages and constraints. This crystalline arrangement gives dental lithium disilicate superior compressive strength and fracture toughness compared to feldspathic ceramics, but it also means the material exhibits brittle fracture characteristics. When cutting forces exceed critical thresholds, dental lithium disilicate cannot deform plastically to absorb energy; instead, cracks initiate at crystal boundaries and propagate rapidly through the material.
The thermal stress induced by milling further complicates the picture. Dental lithium disilicate has a lower thermal conductivity than metals, meaning heat generated at the cutting interface does not dissipate quickly. This localized thermal gradient creates expansion stress within the material, which combines with mechanical cutting stress to trigger crack initiation. Understanding that dental lithium disilicate responds to both mechanical and thermal loading explains why cooling strategy is equally important as spindle speed or feed rate.
Material Hardness and Tool Selection Impact
Dental lithium disilicate ranks between 800 and 1000 Vickers hardness units, making it significantly harder than composite resin but softer than zirconia. This intermediate hardness requires specific bur designs that differ from tools used for softer ceramics or harder materials. Diamond-coated burs with relatively large grit sizes (typically 125–150 microns) outperform finer diamond grades because larger particles create wider chip spaces that prevent heat accumulation and debris packing. Tools designed specifically for dental lithium disilicate milling incorporate geometry that promotes efficient chip removal, reducing the likelihood of material binding and consequent crack formation.
Worn or dull burs are a primary cause of cracking during dental lithium disilicate milling. As bur edges become dulled through repeated use, they no longer cut cleanly; instead, they create crushing and plucking forces that initiate microfractures. Most laboratories benefit from replacing burs after milling 20–30 restorations in dental lithium disilicate, depending on restoration complexity and bur geometry. Regular bur inspection under magnification is a simple quality check that prevents expensive material waste and ensures consistent results across all dental lithium disilicate cases.
Optimizing Milling Parameters and Cooling Strategy
Spindle Speed and Feed Rate Configuration
Spindle speed represents one of the most critical variables in crack prevention when milling dental lithium disilicate. Most dental milling machines operate at speeds between 10,000 and 60,000 RPM, but optimal speed for dental lithium disilicate typically falls in the 30,000–50,000 RPM range. Higher speeds generate more cutting edges per second, which distributes cutting force across more material engagement points and reduces the stress concentration that triggers cracking. Speeds below 30,000 RPM increase the risk of excessive plucking and chipping, particularly in thin wall areas common in veneer and inlay designs.
Feed rate—the speed at which the bur advances through the material—must be calibrated to work harmoniously with spindle speed. If dental lithium disilicate is fed too quickly into the bur, the material load exceeds the tool's capacity, and cracks propagate. If fed too slowly, friction heat accumulates and thermal stress rises. Most CAD CAM systems offer preset parameters for dental lithium disilicate that balance these factors, but manual adjustment may be necessary for complex geometries or specific material batches. A practical approach is to start with manufacturer recommendations and reduce feed rate by 10–15 percent if chipping appears, then incrementally increase speed to verify improvement.
Cooling and Lubrication Protocols
Wet milling with continuous coolant spray is the gold standard for preventing cracks in dental lithium disilicate. Coolant serves dual purposes: it removes heat from the cutting interface and flushes away ceramic chips that could lodge in the bur and cause binding. Water-based coolants are most effective because they provide superior thermal conductivity and faster evaporation, preventing thermal saturation at the material surface. Many laboratories achieve excellent results using sterile irrigation solution or specialized ceramic milling coolants delivered through dedicated nozzles positioned directly at the bur contact zone.
Dry milling of dental lithium disilicate is possible but carries substantially higher crack risk and is not recommended for clinical applications where material waste is costly. If dry milling must be used due to equipment limitations, reducing spindle speed to 20,000–30,000 RPM and decreasing feed rate significantly can mitigate thermal stress, though results remain unpredictable. Air cooling alone is insufficient for dental lithium disilicate milling because air has poor thermal conductivity and cannot remove heat fast enough to prevent local temperature spikes that generate thermal cracks radiating from the cutting zone.
Technique Refinements for Crack-Free Finishing
Strategic Tool Pathway and Geometry Consideration
The sequence in which different milling tools engage dental lithium disilicate directly influences crack likelihood. Rough milling with larger-diameter burs should remove bulk material quickly, while finish milling with smaller burs refines margins and surface texture. This staged approach reduces cumulative stress on thin sections because finish tools work on material that has already experienced stress from earlier passes. For thin areas like veneer margins or connector regions, reducing spindle speed by 20–30 percent during finish passes further lowers crack risk by decreasing the energy imparted per material engagement.
Occlusal and incisal surfaces should be milled from buccal direction whenever possible to avoid internal stress paths that propagate through the restoration thickness. Incisal edges on anterior dental lithium disilicate restorations are particularly vulnerable to chipping if the bur approaches from lingual direction, compressing the thin incisal layer against the thicker body. By milling occlusal surfaces last, after buccal and lingual contours are established, the finish pass encounters material that is already partially stress-relieved and better supported by underlying geometry.
Post-Milling Inspection and Quality Verification
Immediately after milling completes, dental lithium disilicate restorations should be inspected under magnification for surface cracks, edge chipping, or subsurface fracture lines. Most cracks are visible under 4× to 10× magnification when the surface is clean and dry. Early detection of cracks allows the restoration to be reprocessed from the original blank, which is far more economical than attempting repair or glazing a compromised restoration. Fine surface cracks less than 0.1 millimeter may not affect clinical longevity, but any crack greater than 0.2 millimeter that extends toward interproximal or margin zones should trigger replacement.
Ultrasonic cleaning in demineralized water immediately after milling removes ceramic dust and debris that can obscure crack detection. Some laboratories perform ultrasonic cleaning at 40 kHz for 5–10 minutes, which also provides mild stress relief by vibrating residual stress concentrations. Following cleaning, a final visual inspection under bright illumination confirms that the milled dental lithium disilicate surface is ready for glazing, crystallization annealing (if applicable to the specific material system), and final delivery to the clinical team.
FAQ
What spindle speed is best for milling dental lithium disilicate without cracks?
The optimal spindle speed for dental lithium disilicate typically ranges from 30,000 to 50,000 RPM. Higher speeds within this range distribute cutting force across more material engagement points per second, reducing localized stress concentration that initiates cracks. Speeds below 30,000 RPM increase plucking and chipping risk, while excessively high speeds above 60,000 RPM can generate thermal stress if cooling is inadequate. Always consult the specific CAD CAM system manual and material manufacturer data for your dental lithium disilicate product, as different material batches may have slightly different optimal parameters.
Can dental lithium disilicate be milled dry without cracking?
Dry milling of dental lithium disilicate is technically possible but carries substantially higher crack risk than wet milling. Without coolant, thermal stress accumulates rapidly at the cutting interface because air is a poor heat conductor. If dry milling is necessary due to equipment constraints, significantly reduce spindle speed to 20,000–30,000 RPM and decrease feed rate by 30–50 percent to minimize heat generation. However, wet milling with continuous coolant spray remains the clinical gold standard for dental lithium disilicate and delivers superior crack-free results that justify equipment investment.
How often should burs be replaced when milling dental lithium disilicate?
Most specialized burs used for dental lithium disilicate milling should be replaced after processing 20–30 restorations, depending on bur size, restoration complexity, and milling duration per case. Worn bur edges cannot cut cleanly and create crushing forces that initiate microfractures in dental lithium disilicate. Regular inspection under magnification helps identify bur wear before crack problems develop. Implementing a replacement schedule ensures consistent quality and prevents unexpected chipping or cracking that compromises batch processing. Some laboratories track bur usage by case count or total milling time to standardize replacement intervals across their digital workflow.