
 EN
EN
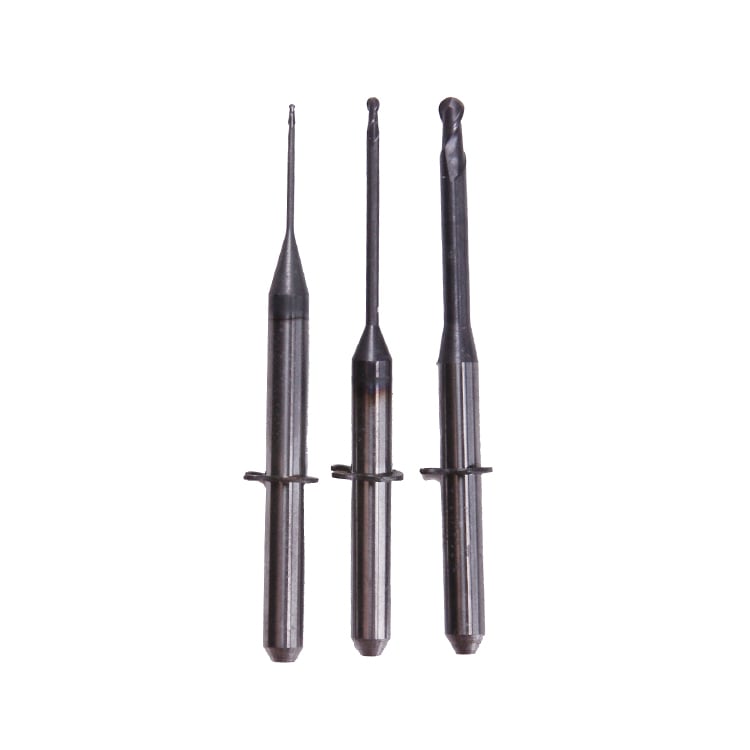
Recognizing when your milling burs require replacement is essential for maintaining precision and efficiency in your milling operations. Worn milling burs directly impact cut quality, surface finish, and overall productivity, making early detection crucial for any machining operation. Understanding the visual and functional signs that indicate your milling burs have reached the end of their service life helps prevent costly errors, reduces machine downtime, and ensures consistent results across all your projects.
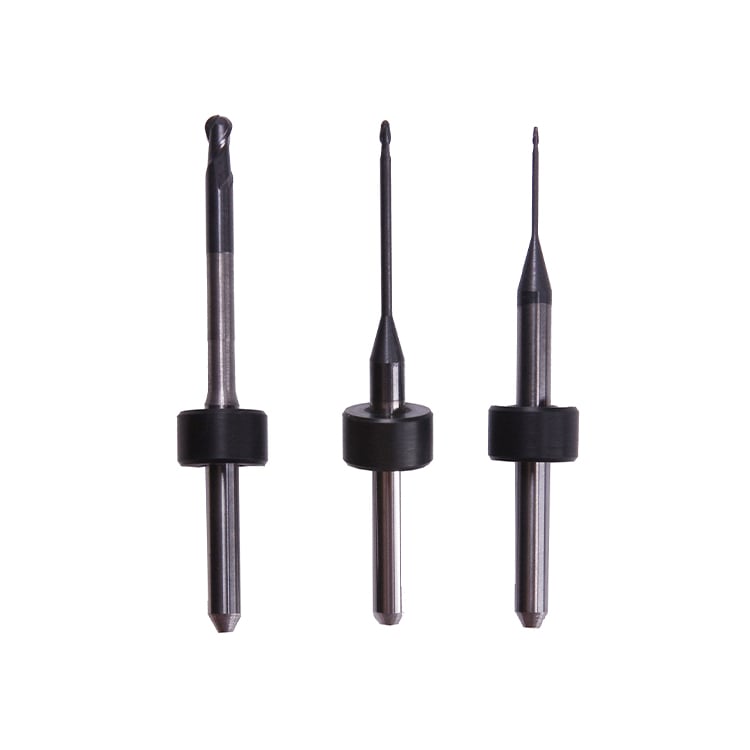
The performance degradation of milling burs happens gradually, but several observable indicators signal when replacement is necessary. By learning to identify these warning signs early, operators can schedule tool changes proactively rather than experiencing unexpected tool failure during critical operations. This guide walks you through the most common indicators of worn milling burs and provides practical insights for managing your tool inventory effectively.
Visual Wear Patterns on Milling Burs
Flank Wear and Edge Recession
Flank wear represents one of the most visible signs of worn milling burs. The flank surface of the bur, which is the area behind the cutting edge, gradually wears down with each pass through material. When examining your milling burs under magnification, look for a flat worn area developing along the cutting edge. Excessive flank wear on milling burs reduces the effective cutting geometry and forces the machine to work harder, generating additional heat that accelerates tool degradation.
Edge recession describes the progressive shortening of the bur's cutting edges as material erodes away. Significant edge recession of milling burs indicates the tool has performed many thousands of cutting cycles. When milling burs show noticeable edge recession, the tool geometry no longer matches the original specifications, and the bur cannot achieve the precision required for final finishing operations. Measuring edge recession on your milling burs helps establish replacement intervals and track tool performance trends.
Cratering and Built-Up Edge Formation
Cratering appears as small pits or depressions on the rake face of milling burs, typically occurring in softer materials or at excessive cutting speeds. These craters on worn milling burs form when workpiece material chemically bonds to the tool and then breaks away, creating surface irregularities. Built-up edge formation happens when chips adhere to the cutting surface of milling burs, creating an enlarged effective cutting geometry. Both cratering and built-up edges reduce the accuracy of your milling burs and increase vibration during operation.
When inspecting milling burs for cratering, examine the rake face directly ahead of the cutting edge. The presence of cratering on your milling burs indicates chemical affinity between the tool material and your workpiece, suggesting the need for different cutting conditions or alternative milling burs designed for that specific material. Built-up edges on milling burs also contribute to poor surface finish and dimensional inconsistency.
Performance and Operational Indicators of Milling Bur Wear
Surface Finish Deterioration and Dimensional Drift
Degraded surface finish serves as one of the earliest operational signs that your milling burs are wearing out. Parts produced with worn milling burs develop a rougher, more irregular surface compared to the precision finish from fresh tools. As milling burs wear, the cutting geometry becomes less sharp, causing material to deform rather than cleanly separate, resulting in visible chatter marks and waviness on the finished surface. Monitoring surface finish quality across production runs helps identify when milling burs need replacement before quality issues escalate.
Dimensional drift occurs when worn milling burs can no longer hold tight tolerances. As your milling burs wear progressively, their effective diameter and cutting geometry change slightly, causing finished dimensions to shift outside specification. Parts cut with worn milling burs may start as acceptable but gradually move out of tolerance as the tool deteriorates further. This dimensional inconsistency is particularly problematic in precision applications requiring tight tolerances, making milling burs replacement critical before scrap rates increase.
Increased Cutting Force and Temperature Rise
Worn milling burs require substantially more cutting force to remove material, a change easily detected through machine load monitoring. As milling burs deteriorate, the cutting edges become dull and the tool geometry less efficient, forcing the spindle to work harder to achieve the same material removal rate. A sudden increase in spindle load or audible motor strain indicates your milling burs are approaching the end of their service life. Modern CNC machines often include load monitoring systems that can alert operators when milling burs are exhibiting excessive wear.
Temperature rise during operation provides another clear indicator of worn milling burs. Worn tools generate excessive friction and heat at the tool-workpiece interface, often visible as discoloration on recently machined surfaces. Operators familiar with normal operating temperatures for their milling burs quickly notice when cutting temperatures exceed typical ranges. Prolonged operation with overheated milling burs accelerates damage to both the tool and the workpiece, making timely replacement essential for maintaining equipment integrity and preventing thermal damage.
Material Damage and Breakage Patterns in Milling Burs
Chipping, Fracturing, and Flaking
Small chips or flakes breaking away from the cutting edges indicate that your milling burs have begun failing mechanically. Chipping on milling burs occurs when cutting forces exceed the material's fracture toughness or when the tool encounters interrupted cuts without proper conditions. Unlike gradual flank wear, chipping on worn milling burs accelerates rapidly, potentially causing complete tool failure within a few more passes. Examining debris from your machining operations helps identify whether milling burs are chipping, signaling immediate replacement is needed.
Larger fractures or significant flaking indicate that your milling burs have likely suffered impact or thermal stress beyond their design limits. A visible crack on the cutting edge means the tool is unsafe to use further, as continued operation risks sudden catastrophic failure of the worn milling burs. This could damage the workpiece, harm the machine spindle, or create safety hazards for operators. Any visible cracking or large-scale material loss from your milling burs demands immediate tool removal and disposal.
Notching and Localized Wear Zones
Notching describes localized groove formation along the cutting edge of milling burs, typically appearing at the depth-of-cut line where the tool enters and exits the workpiece. This concentrated wear on milling burs develops because that specific area experiences the highest cutting pressures and temperatures. Notching on your milling burs indicates the tool has reached significant wear and dimensional changes are likely affecting cut quality. The presence of notching on milling burs often precedes more serious failure modes.
Localized wear zones develop when certain portions of your milling burs wear much faster than other areas, indicating uneven cutting conditions or tool runout problems. Milling burs exhibiting severe localized wear should be replaced because the uneven geometry compromises cutting precision and creates vibration. Examining the wear pattern on your milling burs provides diagnostic information about machine condition, spindle alignment, and cutting parameters that may need adjustment to extend future tool life.
FAQ
How often should I inspect my milling burs for wear?
Inspect your milling burs regularly based on usage intensity, typically checking them weekly during normal production and after completing major jobs. High-speed or high-volume operations require more frequent inspections of milling burs, possibly daily or between significant runs. Establishing a routine inspection schedule for your milling burs helps catch wear before quality problems arise and prevents unexpected downtime. Documentation of inspection findings helps correlate milling burs wear with specific jobs and material types.
Can partially worn milling burs be resharpened instead of replaced?
Some milling burs can be resharpened if the damage is limited to normal flank wear and the tool geometry remains suitable for grinding operations. However, milling burs with cratering, notching, or chipping typically cannot be successfully resharpened and should be replaced. Resharpening milling burs is often more expensive and time-consuming than purchasing new tools, especially for high-volume operations where tool changeover time matters. Consult with your tool supplier to determine whether specific milling burs are suitable candidates for resharpening based on their condition.
What cutting parameters help extend milling burs lifespan?
Optimizing speed, feed, and coolant usage directly impacts milling burs longevity. Using appropriate cutting speeds prevents excessive heat generation that accelerates wear on milling burs, while proper feed rates reduce tool stress and chipping. Applying adequate coolant during machining reduces friction and temperature spikes that damage milling burs prematurely. Each material requires specific parameter recommendations, so following supplier guidelines for your particular milling burs ensures optimal performance and extended tool life.